How to Create a Pop-Out Photo Effect in Canva

Jacqui Naunton // White Deer
14 Feb 2025

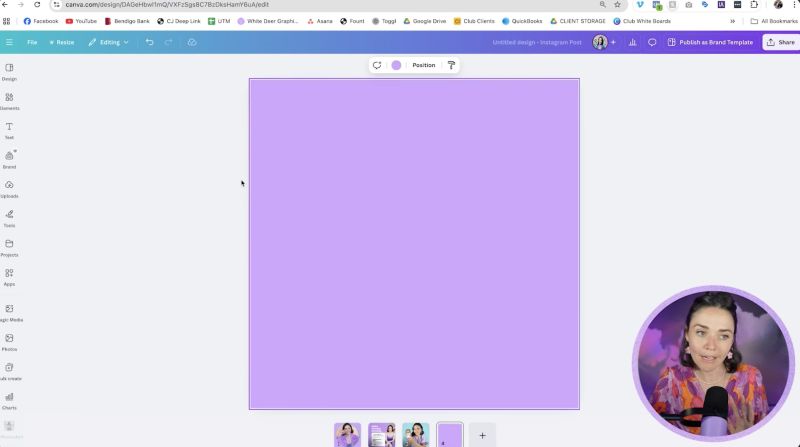
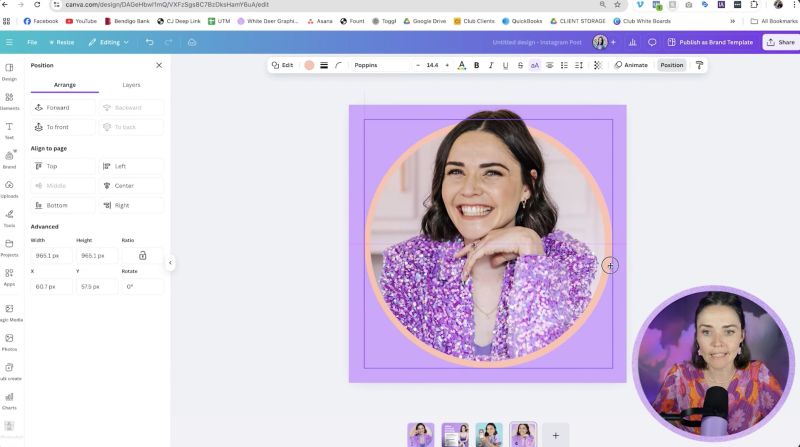
Design is a powerful tool to elevate any visual content, whether it's for social media, presentations, or marketing materials. One of the most eye-catching design techniques is the pop-out photo effect, which adds depth and a professional touch to your images. In this tutorial, you'll learn how to easily create this effect using Canva.

Why Use the Pop-Out Photo Effect?

The pop-out photo effect is a brilliant way to make your graphics stand out. It creates a 3D-like appearance, making images more engaging and visually appealing. This technique can be used for a variety of designs, such as Instagram display pictures, social media posts, and even flyers.

1. Prepare Your Canvas

  • Open Canva and choose a design format. For Instagram, you might select a square template.
  • Set your background colour to match your brand's theme.

2. Insert Your Photo

  • Upload your photo and insert it onto your canvas.
  • Crop the image to remove unnecessary details. Use the corner handles to adjust the cropping area.

3. Duplicate and Frame

  • Duplicate the cropped image. This allows you to work with two versions simultaneously.
  • Insert one version into a circular frame if you want an extra layer of depth and design.

4. Align and Adjust

  • Drag your photo into the frame. Make sure the image aligns well within the circle, allowing some parts to extend beyond the frame if desired.
  • Use the transparency tool to adjust the visibility, helping you align images more precisely.

5. Remove Background

  • With Canva Pro, use the Background Remover tool to eliminate unwanted parts, ensuring only the essential focal point, such as a face, protrudes from the frame.
  • Manually adjust the cropping and background removal for a clean finish.

6. Final Touches

  • If required, add additional elements like shadows or another circle behind your image for extra depth.
  • Position these elements by sending background circles to the back.

7. Advanced Technique: Phone Mockup

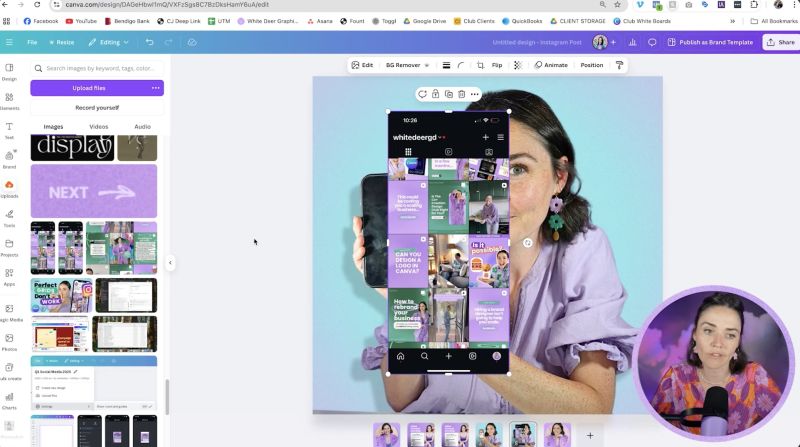
For a more sophisticated mockup with a phone or screen, follow these extra steps:

  • Insert an image of a phone and round the corners of any inserted screens to match the device.
  • Use the Image Transform tool to adjust the perspective if needed.
  • Overlap your finger or another object to enhance the 3D effect by manually erasing unnecessary parts around it.
Support Jacqui Naunton // White Deer

Your support helps me produce more content like this. If you enjoy the content I make - like, follow or subscribe!

Subscribe on YouTube

Conclusion

By following these steps, you can achieve a professional and engaging pop-out photo effect that enhances your graphic designs. Experiment with different elements to discover what works best for your brand's visual identity. Remember to use this technique across various platforms, making your content more visually appealing and connected.

Jacqui Naunton // White Deer