


Creating stunning visual content is crucial for capturing attention in today’s digital world. As a business owner, you often seek unique ways to stand out and engage your audience. Imagine achieving a Photoshop-style double exposure effect using Canva, without the need for advanced software. This tutorial will guide you through creating eye-catching double exposure images effortlessly, perfect for adding a creative edge to your brand.
Double exposure images are a captivating way to blend two photos, creating an artistic overlap that can elevate any piece of content. Traditionally done in Photoshop or through film photography, this technique can now be easily accomplished in Canva. Whether you need a fresh design for social media, marketing materials, or just a unique visual, this guide will show you how to achieve spectacular results.
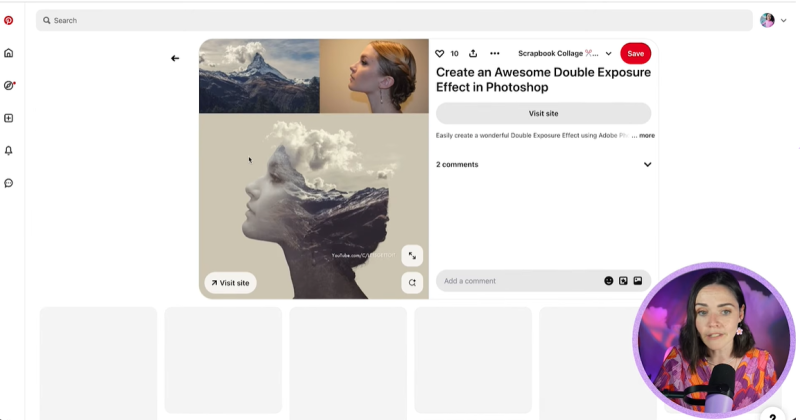
Begin by grasping what double exposure entails. This effect overlays two images to create a visually interesting composition. It's often used to combine portraits with landscapes or abstract elements, offering a dreamy or surreal impression.
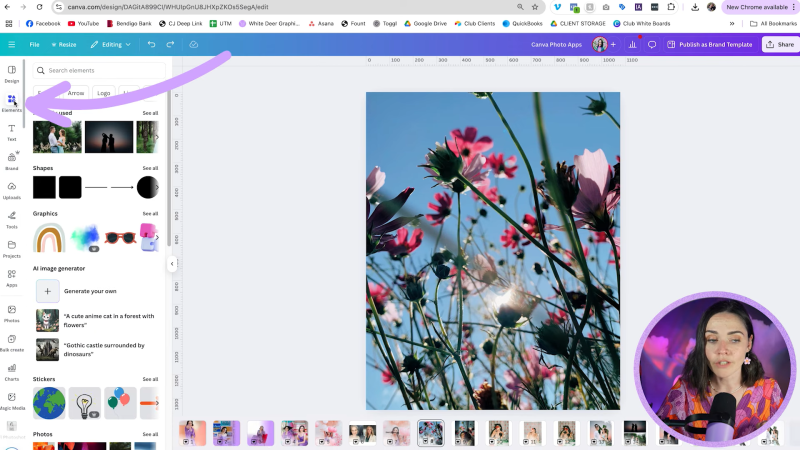
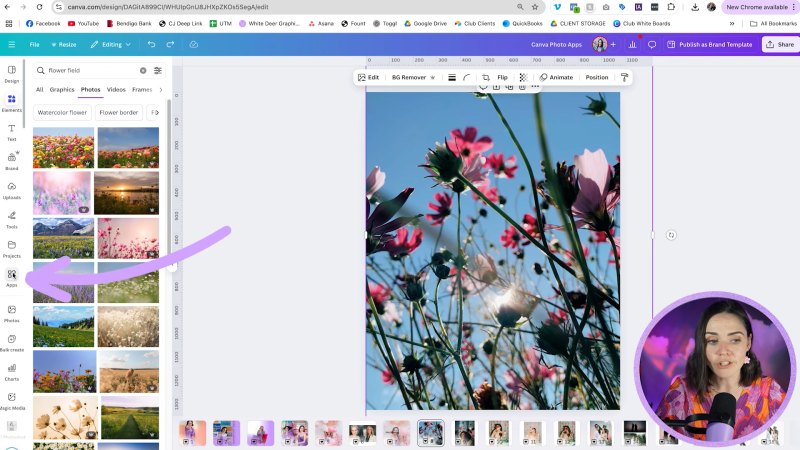
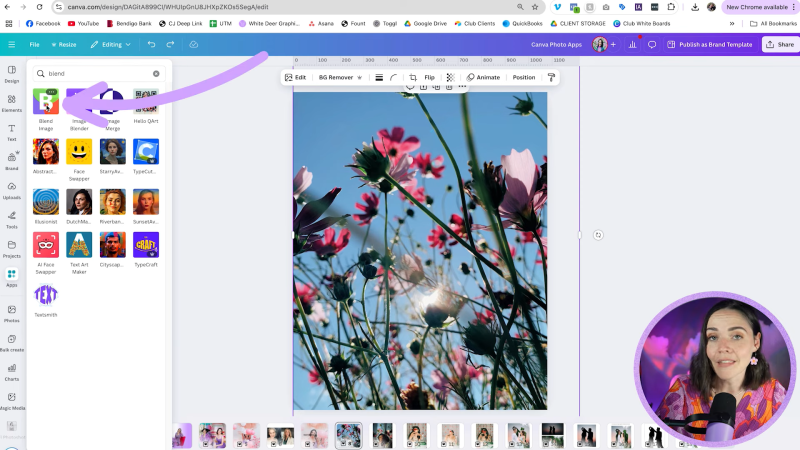
Navigate to the left panel in Canva and select Apps. Search for and open the Blend Image app, which will facilitate the overlay process.
Within the Blend Image app:
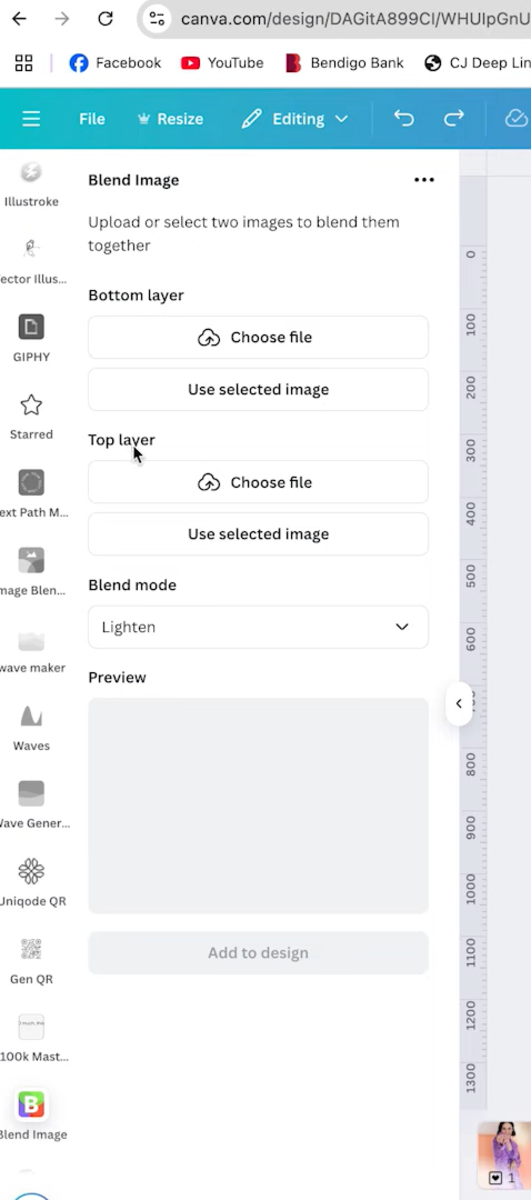
Explore different blend modes to find the best effect for your images:

Your support helps me produce more content like this. If you enjoy the content I make - like, follow or subscribe!

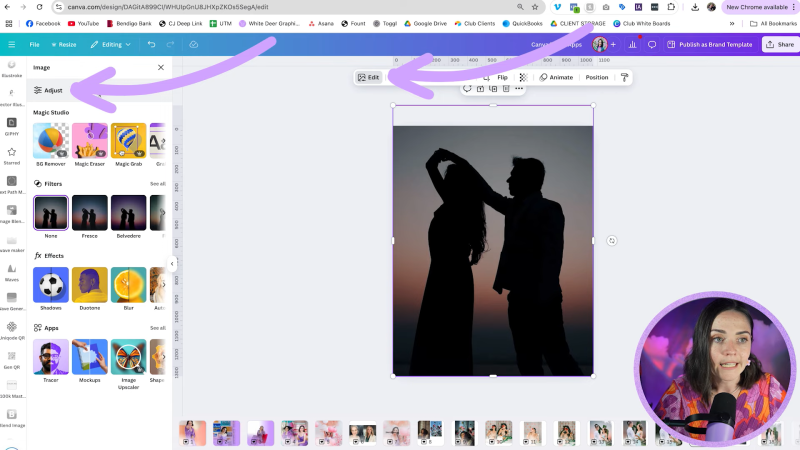
If necessary, adjust image brightness, contrast, and positioning within Canva to enhance the final output. This can be achieved by altering the settings in the Adjust tab, refining how your images merge creatively.
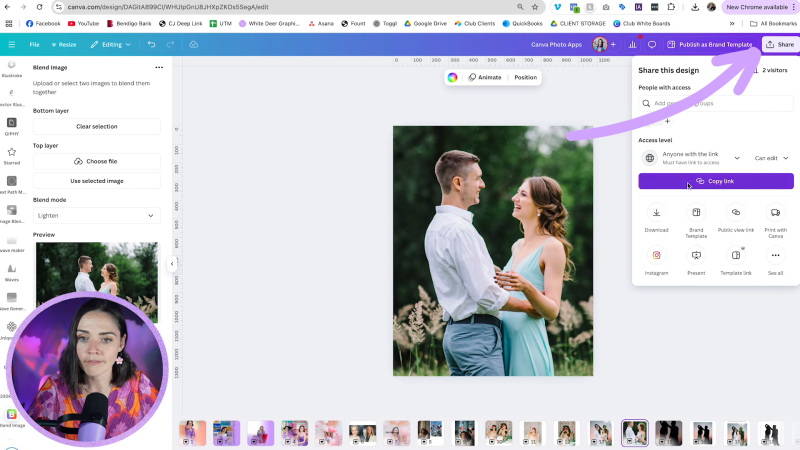
Once satisfied with your blended image:
Creating double exposure images in Canva not only boosts creativity but also offers a simple way to impress your audience with professional-looking graphics. Whether for social media posts or marketing pieces, this technique empowers you to brand your business with style and flair. Happy designing!
Jacqui Naunton // White Deer