How to Create Custom Mockups in Canva: A Step-by-Step Guide

Jacqui Naunton // White Deer
21 Feb 2025

Creating custom mockups is an essential skill for any business owner looking to showcase their products or designs in a professional way. With Canva's new mockup feature, you can now make custom mockups using your own images. Whether it's an image of you holding a phone, wearing a t-shirt, or any other creative concept you can think of, Canva makes it all possible. In this tutorial, I’ll guide you through the process, step by step, to leverage this exciting new feature effectively. Let's dive in.

Why Use Custom Mockups?

  • Professional Presentation: Enhance how your products or graphics are perceived by placing them in realistic settings.
  • Personalisation: Use your own photos to provide a more personal and authentic feel to your presentations.
  • Versatility: Adapt any of your images into various mockup formats suitable for social media, advertising, or websites.

Step 1: Access Canva's Mockup Feature

To get started, you'll need to be using Canva Pro, which enables the custom mockup feature. Begin by selecting an image in Canva that you wish to use for your mockup. This could be a personal photo or one from Canva's library.

Step 2: Customise Existing Mockups

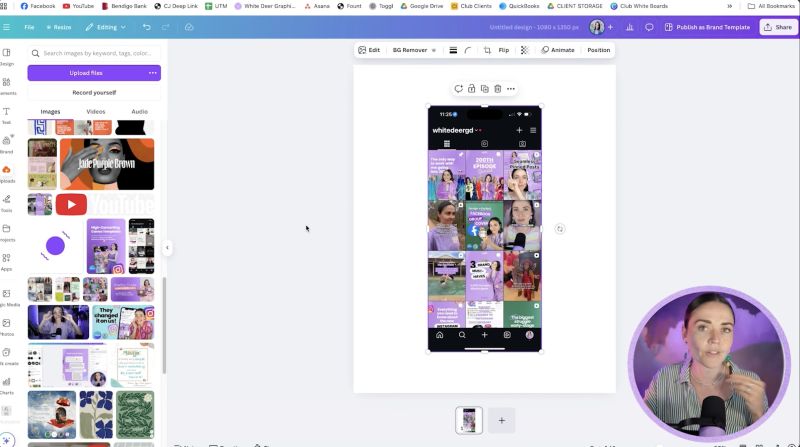
Canva provides a plethora of pre-made mockups.

  • Select an image and hit Edit on the top menu.
  • Navigate to Apps and choose Mockups.
  • Choose a pre-existing mockup style and watch as your image integrates seamlessly into the template.

Step 3: Create Your Own Custom Mockup

If existing templates don't fit your needs, Canva allows you to create a mockup from scratch.

  • Select your personal image, tap Edit, go to Mockups, and choose Create a Mockup Template.
  • Canva uses AI to detect which parts of your image can serve as a frame for your mockup. Confirm the area, and your template is ready.

Step 4: Insert Your Image into the Mockup

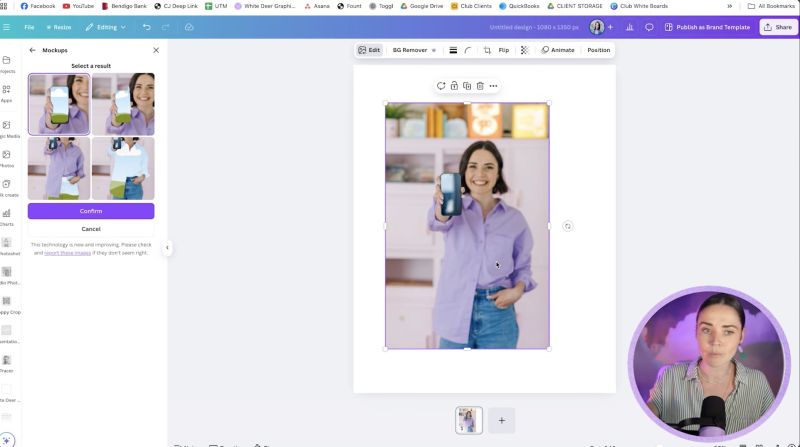
After your template is created:

  • Go back to your uploads to select an image you want to insert into the mockup.
  • Simply drag this image over the designated mockup area and drop it. Adjust the crop if necessary for a perfect fit.

Step 5: Use Canva’s Dreamlab for More Creativity

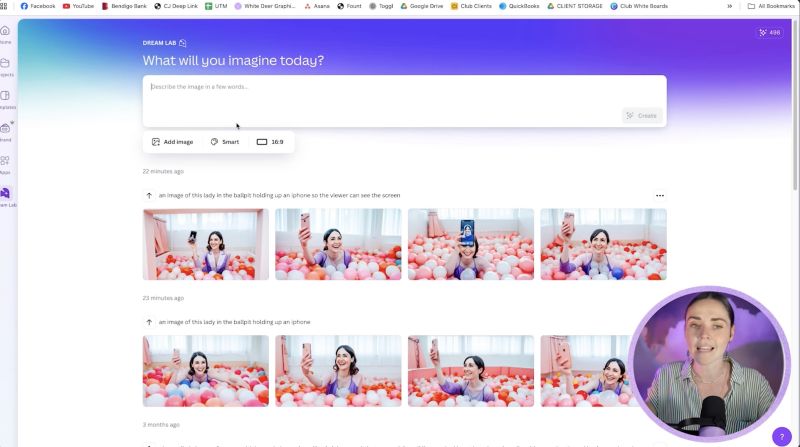
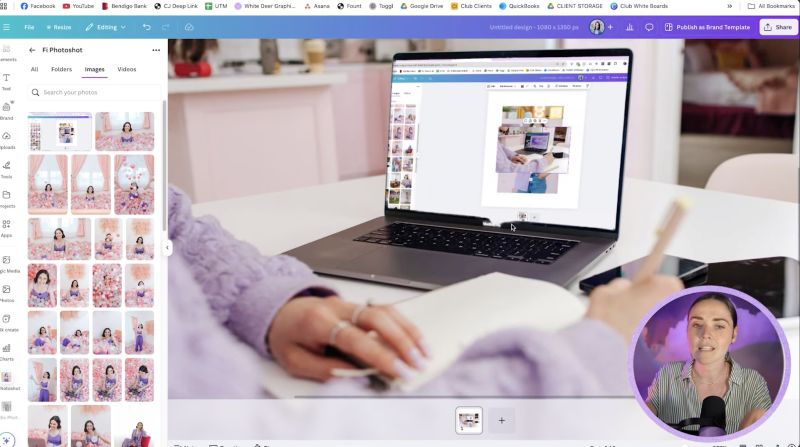
For those without suitable photos for mockups:

  • Use Dreamlab in Canva, where you can generate images using AI.
  • Provide a prompt for Dreamlab to create a relevant image. Use these new images to craft more detailed mockups.
Support Jacqui Naunton // White Deer

Your support helps me produce more content like this. If you enjoy the content I make - like, follow or subscribe!

Subscribe on YouTube

Step 6: Enhance and Finalise

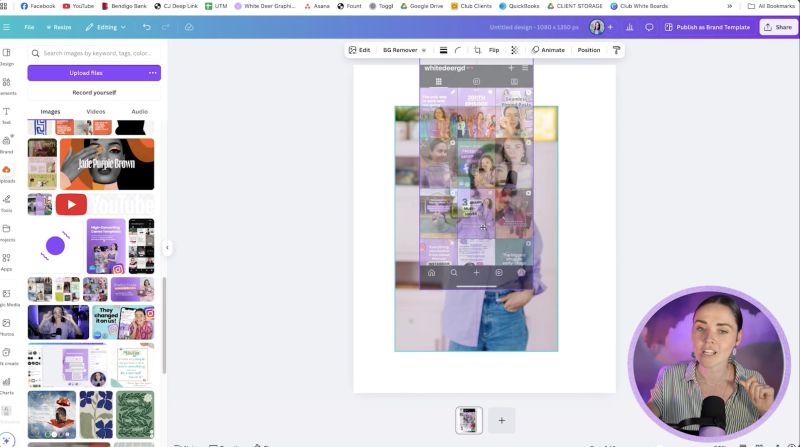
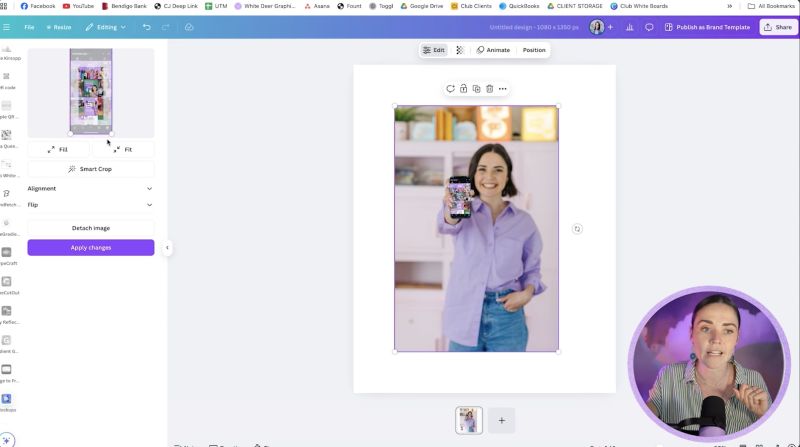
Once your image is inserted:

  • Use options like crop, flip, or smart align to get the best result.
  • If desired, play with styles and experiment until satisfied.

Step 7: Experiment and Troubleshoot

Every mockup might not be perfect on the first try. Experiment with different images and prompt adjustments to refine the look. Canva's AI continuously updates, improving over time to better serve your creative needs.

Conclusion

Creating custom mockups in Canva not only enhances your brand's visual storytelling but also offers a versatile tool for personalising how you showcase anything from social media posts to promotional content. With just a little practice, this method can become an integral part of your design toolkit. So, get started and let your creativity flow to create compelling product presentations or designs effortlessly!

Jacqui Naunton // White Deer