


Are you a creative soul looking to add a unique twist to your design projects? Do you love the rustic, artistic feel of paper cutouts but aren't quite sure how to achieve it digitally? This tutorial will be your guide to creating rough scrapbook-style photo cutouts using Canva's "Choppy Crop" app. This effect is perfect for adding a relaxed, layered, and fun vibe to your designs, making it a great addition to your Canva toolkit.
Step 1: Gather Your Materials
Begin by selecting the photos you wish to transform into cutouts. Remember, you want images that haven’t been pre-cut, as the aim is to create that raw, choppy collage style. For this tutorial, we'll use a flower photo, but feel free to choose any image that suits your project.
Step 2: Access the Choppy Crop App
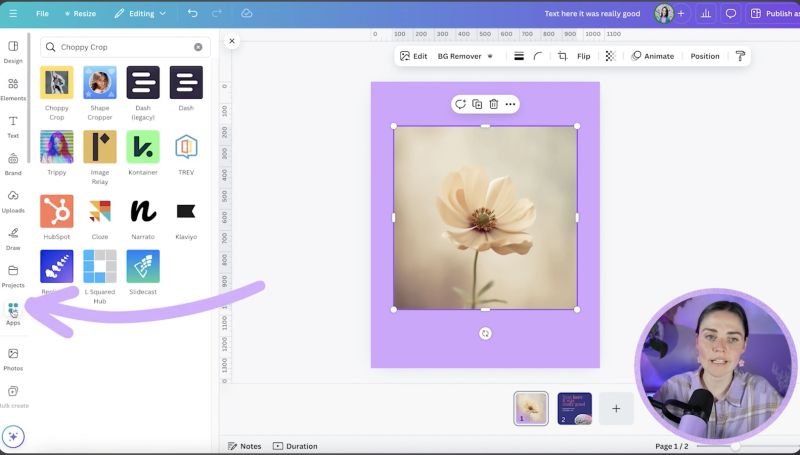
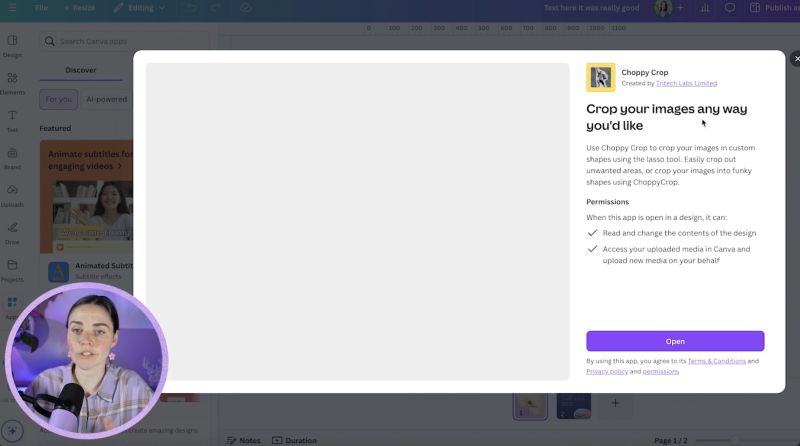
Open Canva and navigate to the app section. Search for the "Choppy Crop" app if it's not listed under trending. Once found, click to open it and grant any necessary permissions. This app will be essential for creating the desired cutout effect.
Step 3: Select and Edit Your Image
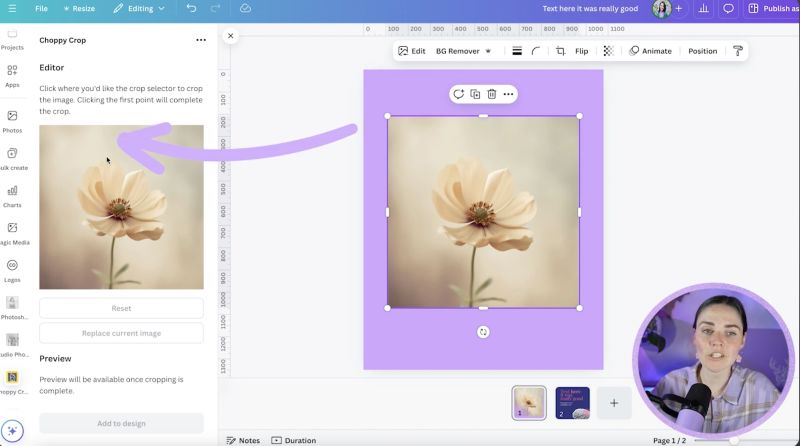
Insert your chosen photo into your Canva design. Once in place, select the image to start the Choppy Crop process. Click on the image, and the app will prompt you to create points around your image to form a cutout path. Ensure you leave a consistent margin around the image for a more authentic cutout look.
Step 4: Create the Cutout Effect
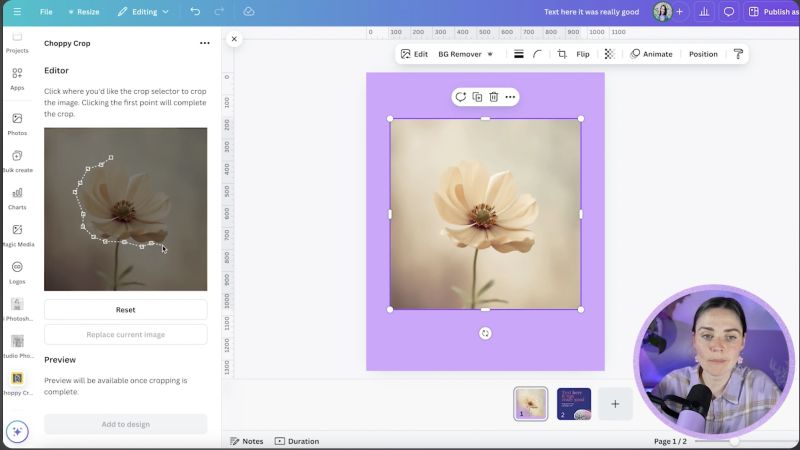
To achieve the cutout effect, click and drag around your image, forming a dotted line path. This technique provides the rough, handcrafted look typical of scrapbook projects. When your path is complete, close the shape and apply your cutout.
Step 5: Add Layers for a Sticker Look
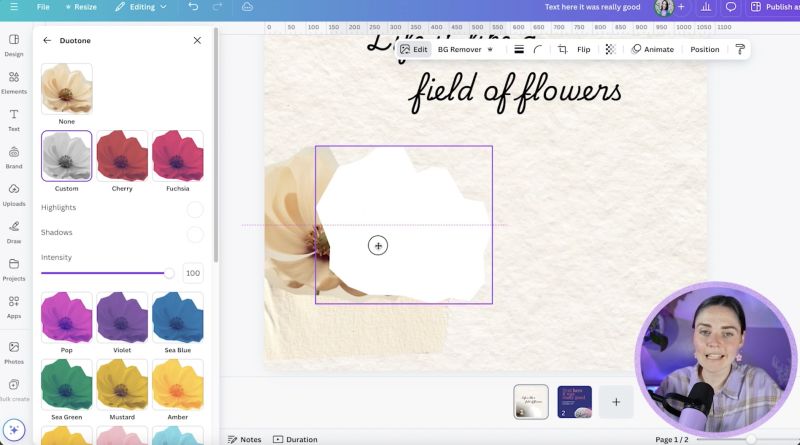
For a more layered and sticker-like effect, create a duplicate of the cutout. Use Canva's editing features to apply a Duo Tone effect to the duplicate, making it a contrasting colour like white. Position this layer behind your original cutout, slightly larger and perhaps at a tilted angle for a casual, crafty feel.

Your support helps me produce more content like this. If you enjoy the content I make - like, follow or subscribe!
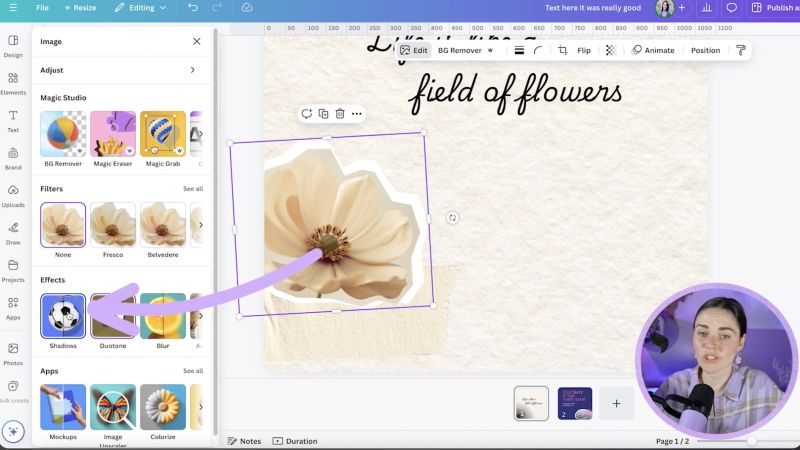
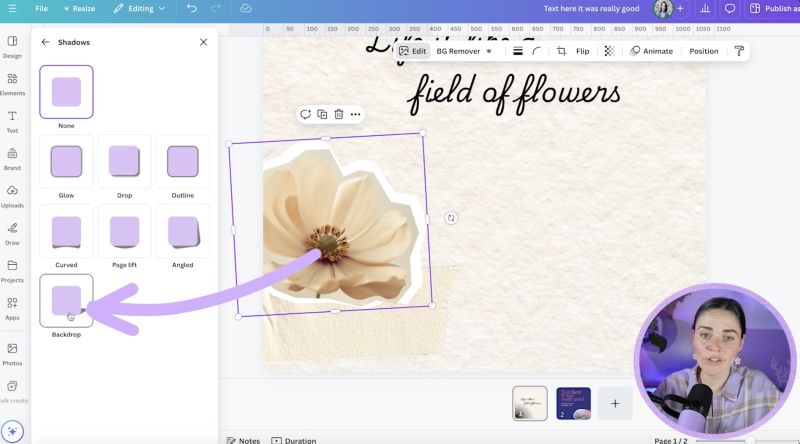
Step 6: Enhance with Drop Shadows
To add depth and a subtle 3D look, apply a light drop shadow to your background layer. Adjust the blur, distance, and intensity to keep it soft and barely noticeable, enhancing the cutout without overwhelming it.
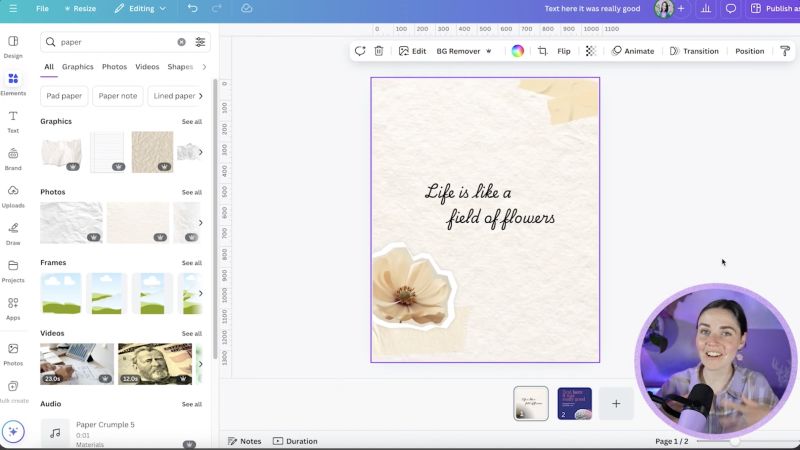
Step 7: Finalise Your Design
Finish off your design by tweaking the background colours and adding text or additional elements to complement your cutout theme. The key here is to create a cohesive look that harmonises with your main image.
Step 8: Wrap Up
Your rough scrapbook-style photo cutout is now ready to use! Whether in branding, personal projects or digital journals, this technique allows for creative expression while maintaining an authentic, DIY vibe.
Experiment with different images and layouts to discover your unique style. Don't hesitate to incorporate your newfound skills into various design projects. With practice, you'll master the art of digital paper cutouts, making your projects stand out with character and charm.
Jacqui Naunton // White Deer