


Welcome to my article on creating bulk social media posts quickly and efficiently using Canva's Bulk Create feature, now with the ability to add unique images! If you prefer watching tutorials, you can also check out the accompanying video on my YouTube channel, "Jacqui Naunton // White Deer."
Creating social media posts can often be a time-consuming task, but it doesn't have to be! By using a combination of Canva and ChatGPT, I can show you how to create multiple posts in just minutes. In this tutorial, I demonstrate creating 10 posts effortlessly, but the method scales to even 100 or more if needed!
If you want to utilize Canva's Bulk Create feature, note that you'll need a Canva Pro account. Don't worry if you don't have one yet; you can always upgrade temporarily to get all your posts done.
1. Open a new design: Choose an Instagram post size or any size that fits your needs.
2. Create your design: Create the layout you want your bulk created designs to have. Add your brand colors, fonts, and other elements to make the design cohesive.
You can either write your own text or use ChatGPT to create content for you. Here's how to do it with ChatGPT, otherwise, just skip ahead!

"Create 2 columns. One titled tip with DIY graphic design tips that are 5-10 words long. And a second column titled expanded with text to explain the tip in more detail, around 10-20 words."
Head to the App tab and search for "bulk create" and open that app.
There are two ways to import your data into Canva:

Your support helps me produce more content like this. If you enjoy the content I make - like, follow or subscribe!
1. Without Images: If you don't want to add varied images in your designs, save the spreadsheet as a CSV file and upload it by clicking "upload data".
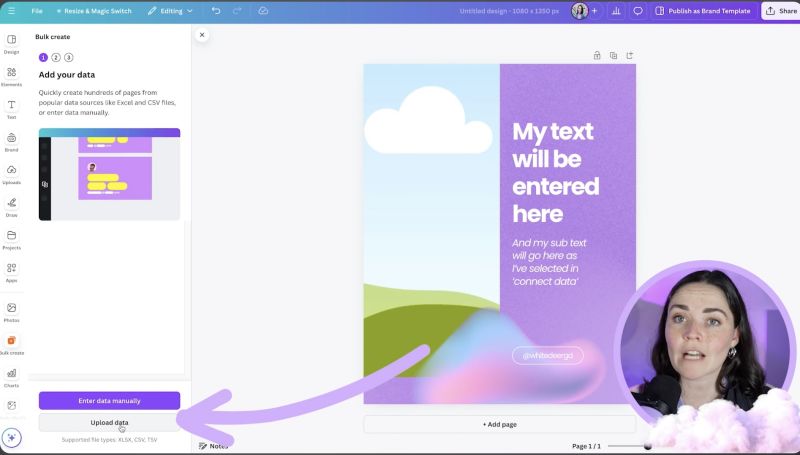
2. With Images: If you'd like to customise the image on each design, you'll need to input the data manually in Canva. This is slightly more work but totally worth it to have the image feature.
You can simply click "enter data manually" and copy each column from your spreadsheet and paste it into Canva's bulk create spreadsheet.

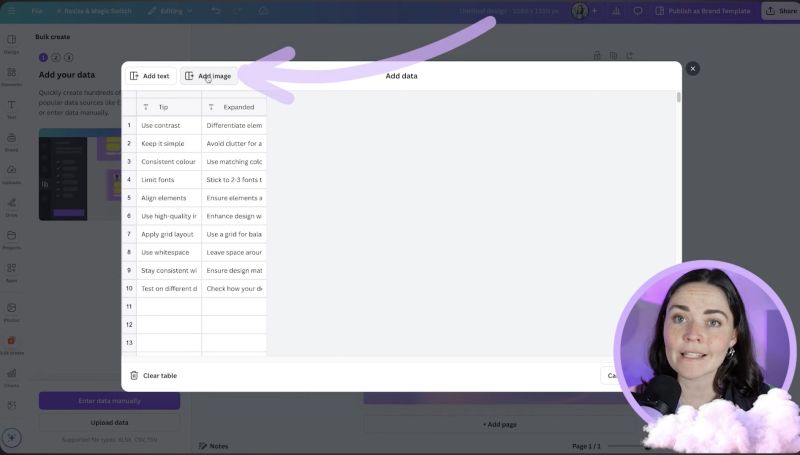
Canva now allows you to add a column for images as well:
1. Add Image Column: Click ‘Add Image’ at the top of your Canva spreadsheet
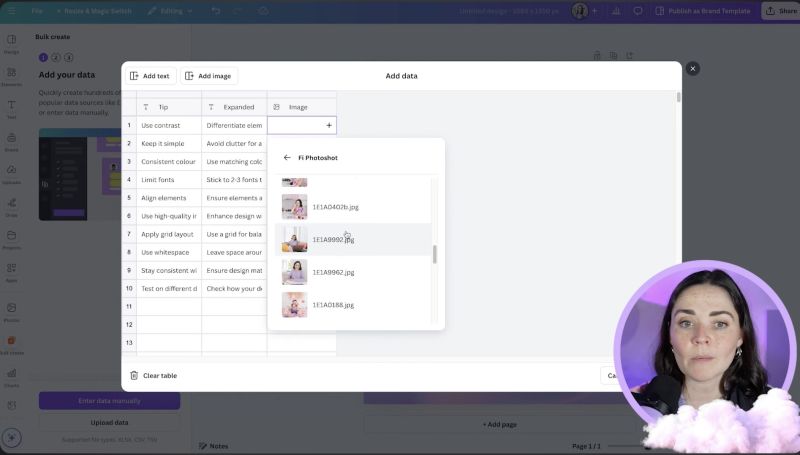
2. Select images: Click on the cell corresponding to the relevant row and add your image into the cell. Note: these images have to be already uploaded into a folder in Canva.
Now, let's bring everything together:
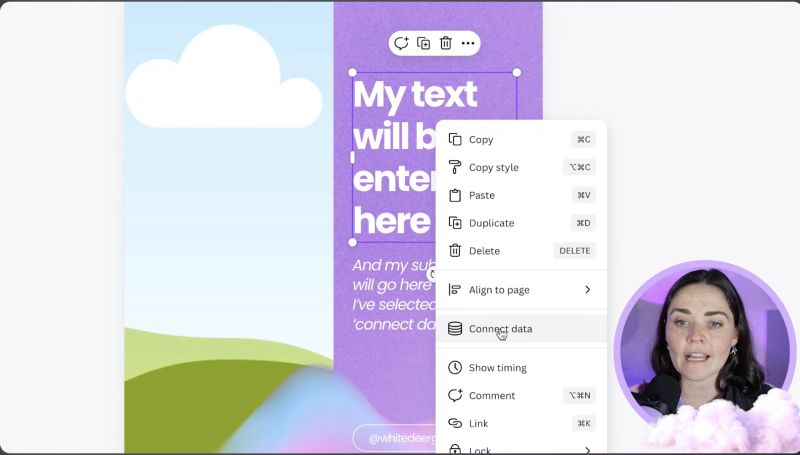
1. Connect Data: Select each text box and image in your Canva design and connect them to your columns via the 'Connect Data' option.
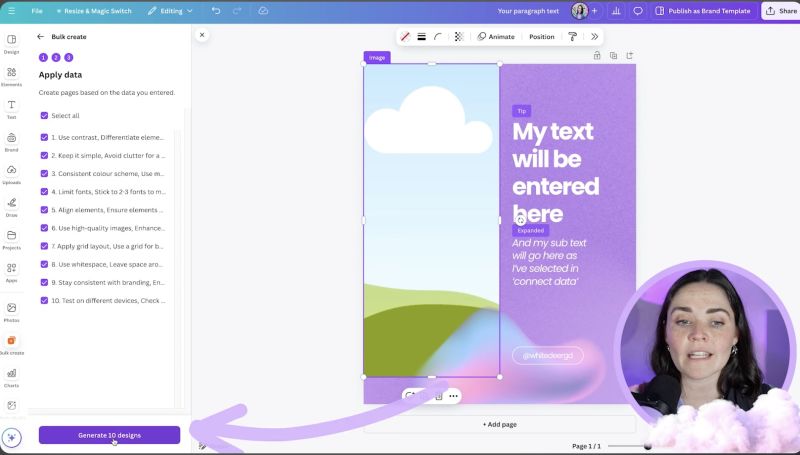
2. Generate Designs: Click 'Generate' to create multiple versions of your design with your data.
Pro Tip: Ensure all your images are in a frame. Canva won't let you connect data to a standalone image.
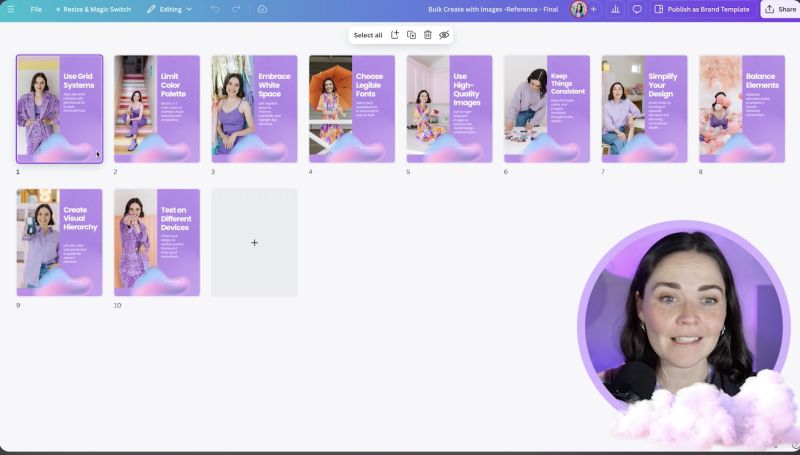
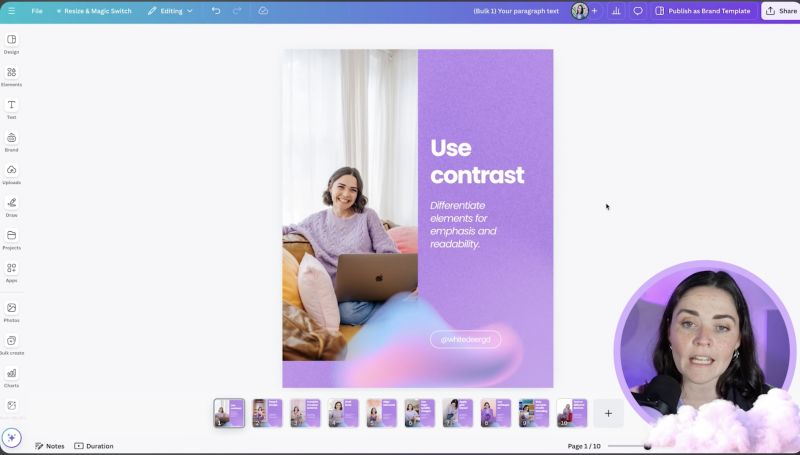
Once your bulk designs have generated go through each design to ensure everything fits well (sometimes if your text is longer or shorter it might impact the layout):
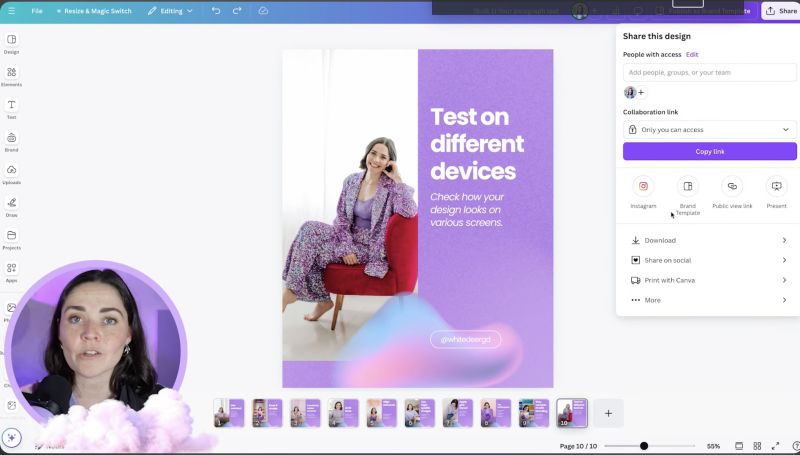
Once you’re satisfied with your designs, download them and schedule them using your preferred social media scheduler. I usually use Meta's scheduling app, but Canva also offers built-in scheduling options.
This Bulk Create feature is not limited to just social media posts. Here are a few other ideas on how you can use it:
Your support helps me produce more content like this. If you enjoy the content I make - like, follow or subscribe!
If you found this tutorial valuable and want to learn more about creating stunning visuals for your brand, check out my FREE 3-part video series on creating an incredible brand foundation. The series includes:
Unlock your free access here: Seriously in Business
Thank you for reading! If you have any questions or ideas on how you plan to use the Bulk Create feature, feel free to leave a comment. Subscribe to my channel to stay updated with the latest tutorials and graphic design tips!
---
Disclaimer: This article contains affiliate links to products I use and love. If you click on one and make a purchase, I may receive a small commission at no extra cost to you, which helps support the channel.
Jacqui Naunton // White Deer