


If you've ever felt overwhelmed by the process of creating multiple designs for your business, you're not alone. Whether it's for social media posts, presentations, or invitations, spending hours tweaking designs can be a huge drain on your time. In this tutorial, we'll explore how to use Canva's powerful Bulk Create feature in tandem with Sheets and AI to streamline your design process. This step-by-step guide will help you create multiple designs with just one click, saving you valuable time.
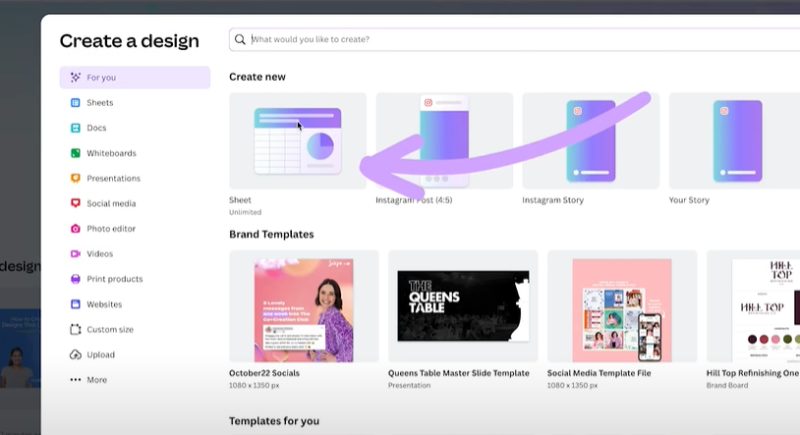
Begin by opening your Canva account. You'll want to create a new project to host your designs. Once you're in Canva, hit Create and select Sheet. If Sheet is not visible, type "Sheet" in the search bar at the top.
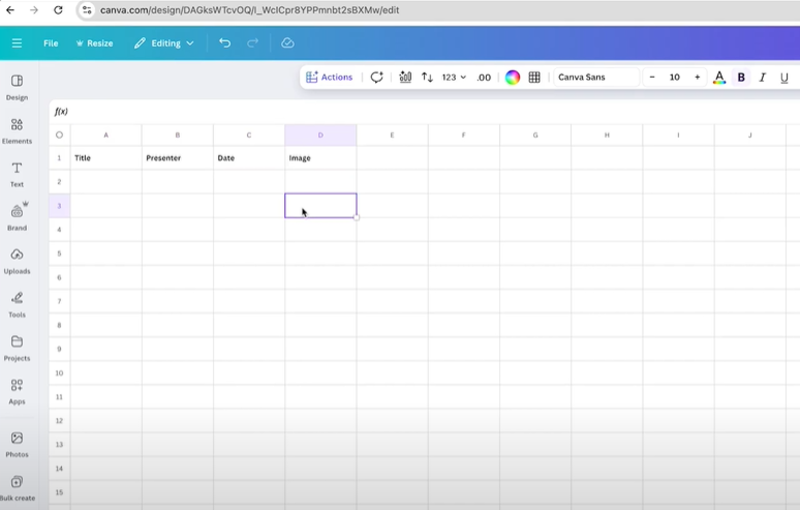
Once you've opened Canva's Sheets (functioning like an Excel or Google Sheets), begin by inputting all the data you'll need across your designs. This can include text elements like names, dates, and titles. Don't forget to add headings for each column such as Title, Presenter and Date. You can also include image links to be part of your designs.
For a boost, use Canva AI’s Magic Fill to generate text automatically based on the existing data patterns.
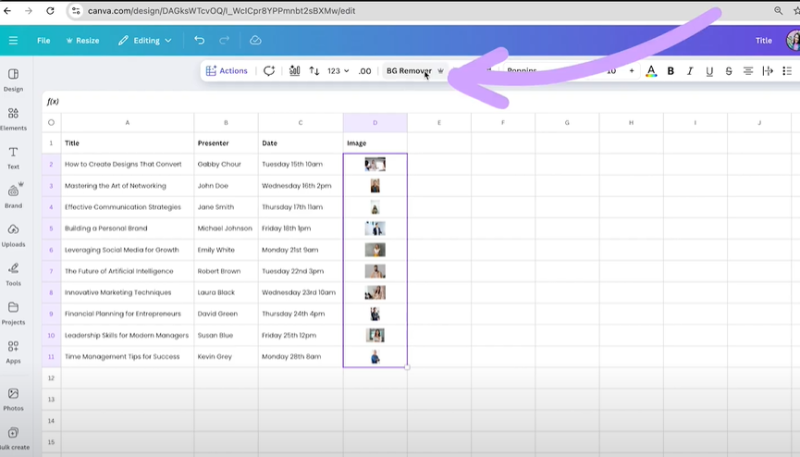
Before incorporating images, gather your desired pictures — this could be products, people, or objects relevant to your design. Drag the images into the sheet under the Image column.
Now, use Canva's Bulk Background Remover: Highlight the cells with images, select Actions, then click Background Remover to eliminate image backgrounds in one go.
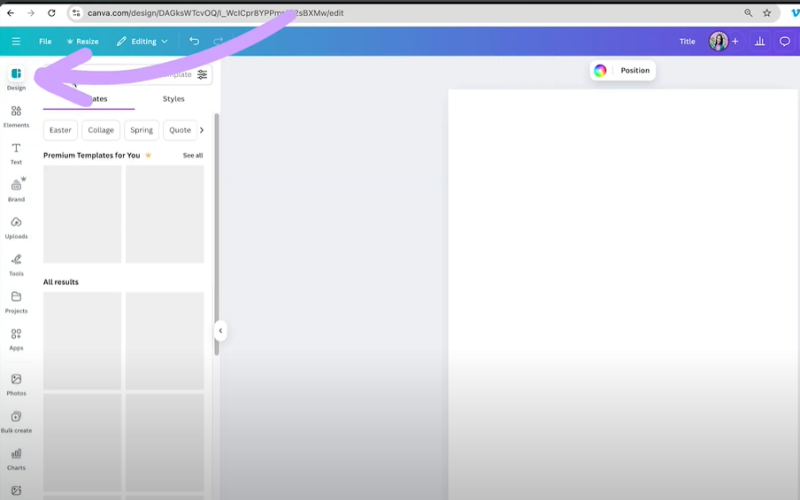
Head over to the Canva design section and select the template size for your project. This could be anything from an Instagram post to an A4 document. Search for a template that closely matches your needs. You can customise the layout within Canva by adjusting text boxes and image placeholders to suit your branding.

Your support helps me produce more content like this. If you enjoy the content I make - like, follow or subscribe!
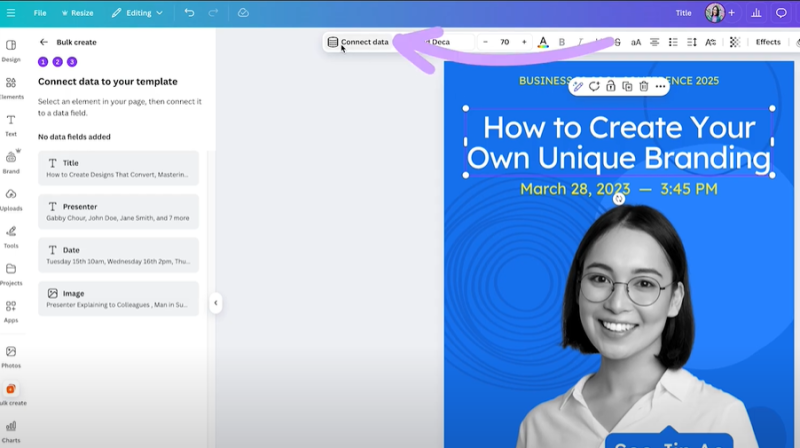
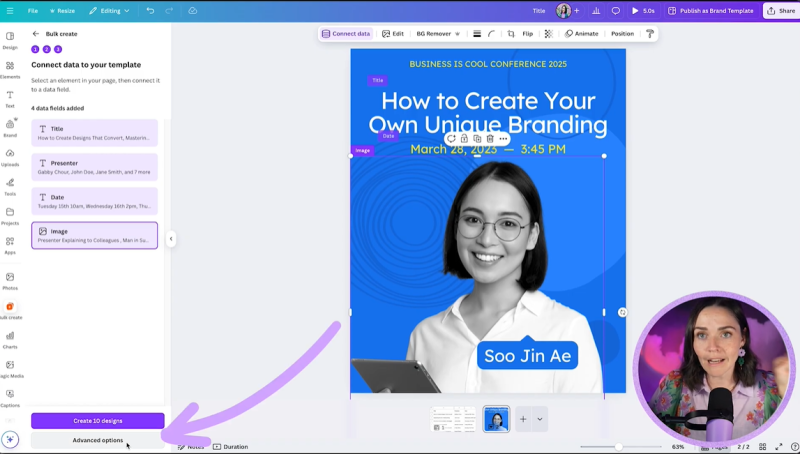
In your design, click a text box or image placeholder, hit Connect Data, and choose the corresponding column from your sheet. This will link your template to your dataset. Repeat this for each placeholder that needs customisation from the data.
Once everything is connected, go to Advanced Options in the bulk create pop-up. Decide whether you want your outputs as separate designs or multiple pages within a single design. Ensure your settings match your preference and then press Create Designs.
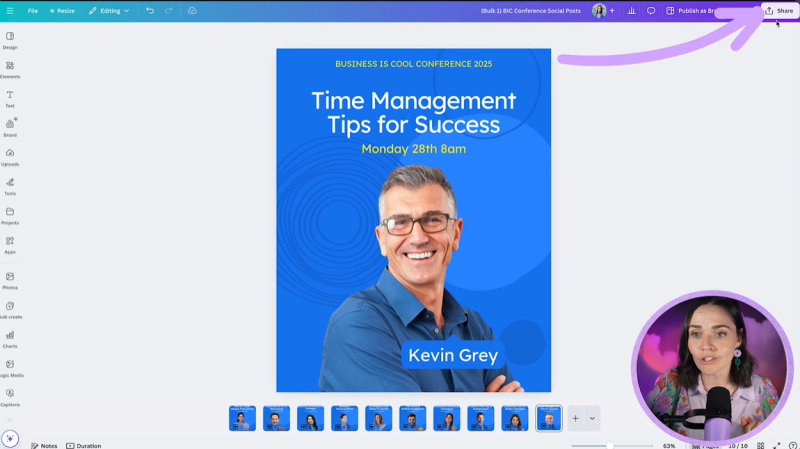
After your designs have been generated, review each page. Some designs may need slight adjustments, such as resizing images or text boxes due to content differences. Make any necessary edits before finalising.
Satisfied with your creations? Click Share and download your designs in the desired format, such as PNG for social media posts. Alternatively, use Canva’s scheduling feature to plan postings directly to your social media platforms.
By following these steps, you'll dramatically reduce the time and effort required to produce multiple designs, allowing you more freedom to focus on other aspects of your business. Get creative and utilise Canva's Bulk Create to its full potential!
Jacqui Naunton // White Deer