


Creating a tangible, high-quality visual representation of your digital course can significantly boost its perceived value. In this tutorial, I'll guide you through the process of crafting compelling course mockups using Canva—a tool that saves you the complexity of Photoshop. Mockups are essential for making your digital offerings feel more authentic and premium to potential buyers. Ready to enhance your course visuals? Let's dive in.
Before we begin, it's vital to understand the importance of mockups in selling your digital courses. By presenting your course content as realistic, tangible items, you immediately increase the perceived value, making customers feel more confident about their purchase.
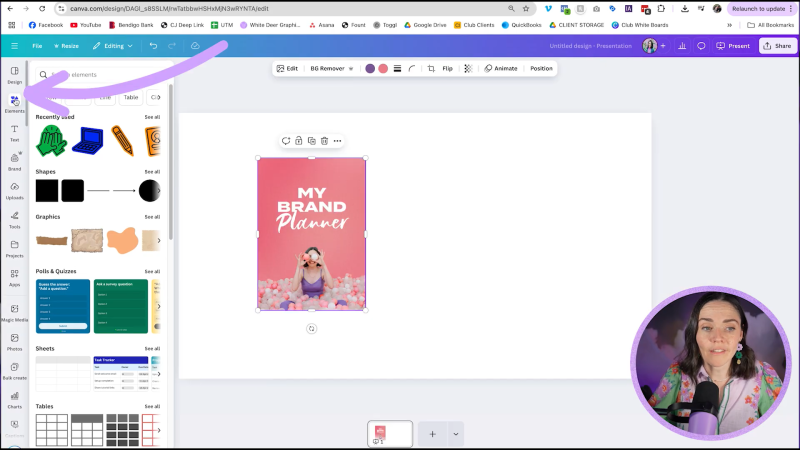
The first step involves collecting all the necessary graphics for your mockup. Consider the components of your course:
Take screenshots or prepare any relevant visuals that represent these elements. Use your screenshot tool or download images from Canva if your worksheets are hosted there. Store these graphics neatly in your Canva files to use later.
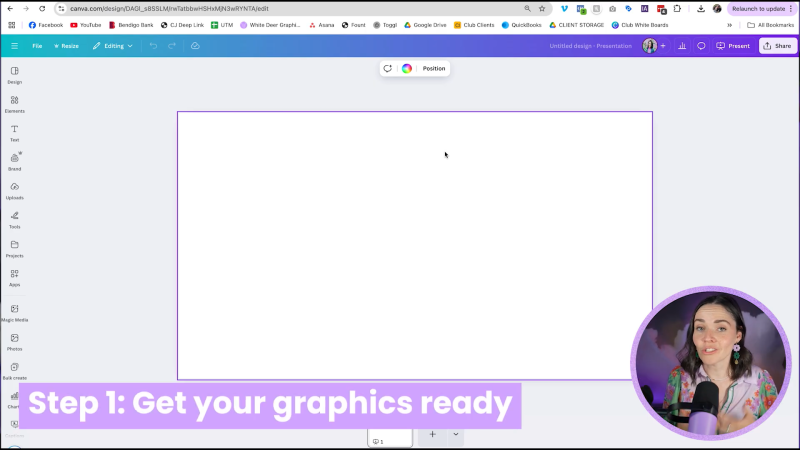
Open Canva and start a new project. You could use any size like a presentation slide or any other larger format, but avoid small sizes like a business card. This ensures you have enough space to creatively arrange your design.
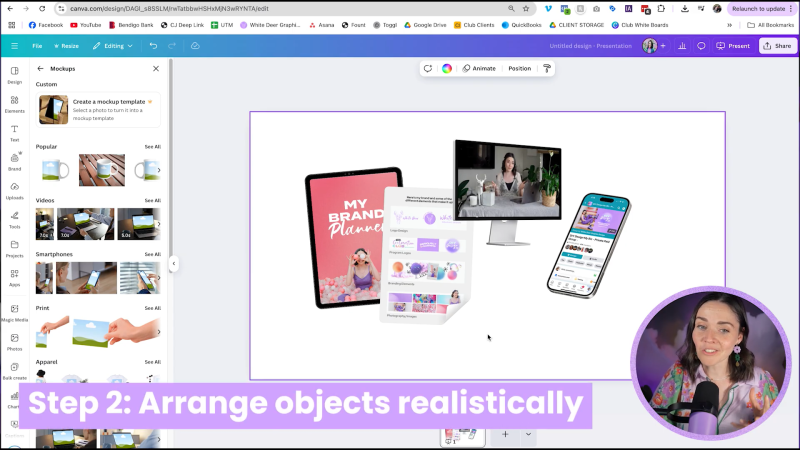
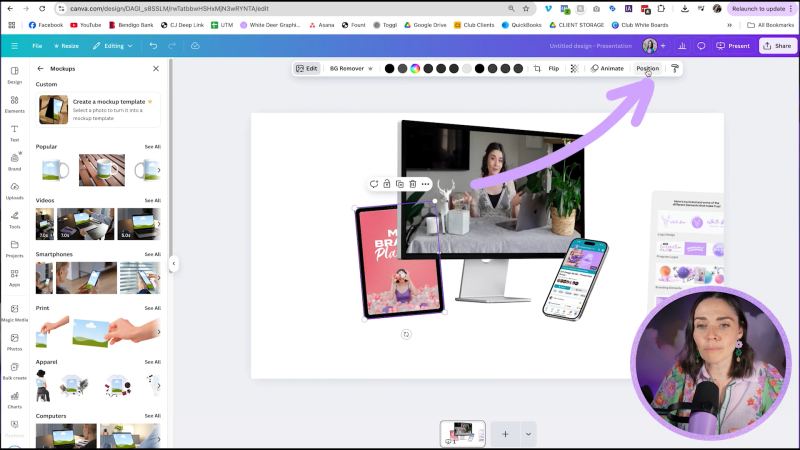
Select consistent styles for your devices to maintain a cohesive look. When choosing placeholders for tablets, phones, or laptops, ensure they have a similar aesthetic. Look for frames or mockup options in the Elements section and insert your graphics ensuring a flow in style and digital realism.
Arrange your visuals to mimic a realistic scenario:

Your support helps me produce more content like this. If you enjoy the content I make - like, follow or subscribe!
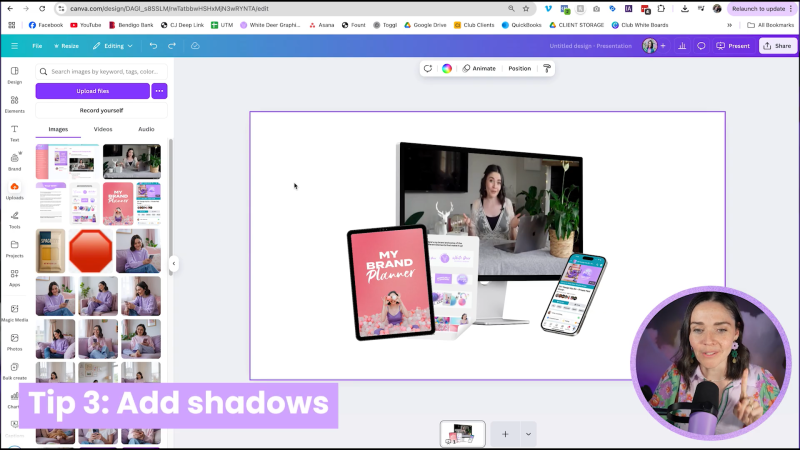
Add shadows to elements to give them weight and position. Use the Elements section and search for shadow graphics. Position these beneath your devices and set a low transparency to keep them subtle.

Your mockup should look organized and attractive by this stage. Consider overlaying a light desktop graphic to simulate a real-world surface or background. Once you're satisfied, download your entire design or specific selections as PNG files. If using Canva Pro, consider exporting as a transparent PNG for better flexibility.
By following these steps, you can create stunning course mockups using Canva that can significantly enhance the perceived value of your digital products. These mockups are not only visually appealing but also help in crafting a compelling narrative for potential buyers, increasing your chances of making successful sales.
For further inspiration, remember to regularly refresh your mockups as you update your course content or design elements to keep your marketing fresh and aligned with your brand.
Jacqui Naunton // White Deer