


In the world of business branding, uniqueness and clarity are key. A logo represents your business, so creating one that's personal and adaptable is crucial. In this tutorial, I'll guide you through the process of turning your sketch into a polished vector file using Canva's Tracer app. Perfect for those who want a custom logo that's truly their own!
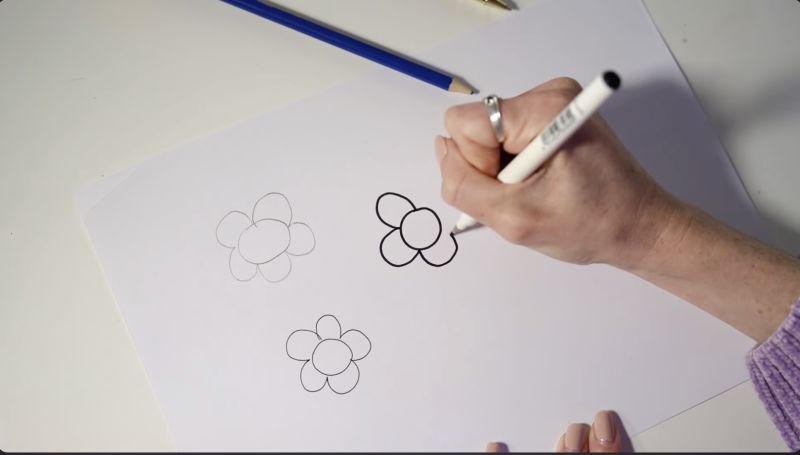
Consider the principles of simplicity and versatility in design. Logos should work well both when enlarged and shrunk down. With your final idea in hand, sketch your design, ensuring lines are bold and clear for easy conversion.
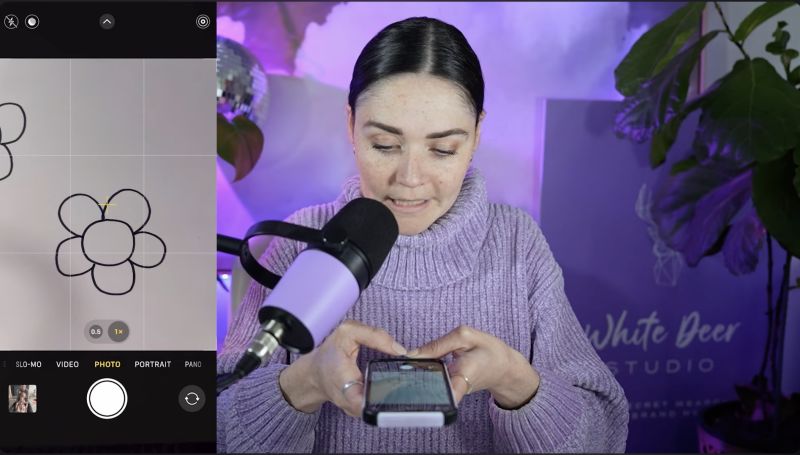
Using a smartphone or scanner, photograph or scan your drawing. Make sure to use good lighting to avoid shadows and take the picture from directly above to prevent distortion.
To edit your sketch, transfer the captured image to your computer. You can use methods such as AirDrop, email, Dropbox, or any method that works best for you.
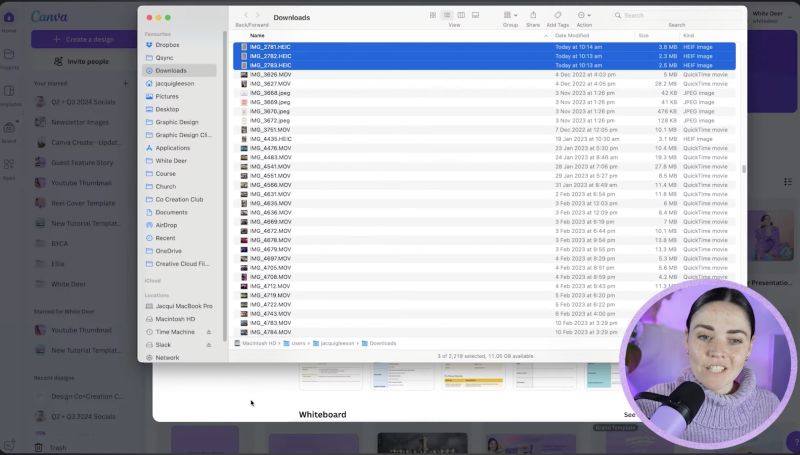
Open Canva and create a new design with dimensions larger than 2,000 pixels to ensure adequate workspace. Upload your sketch by going to the Uploads section in Canva.
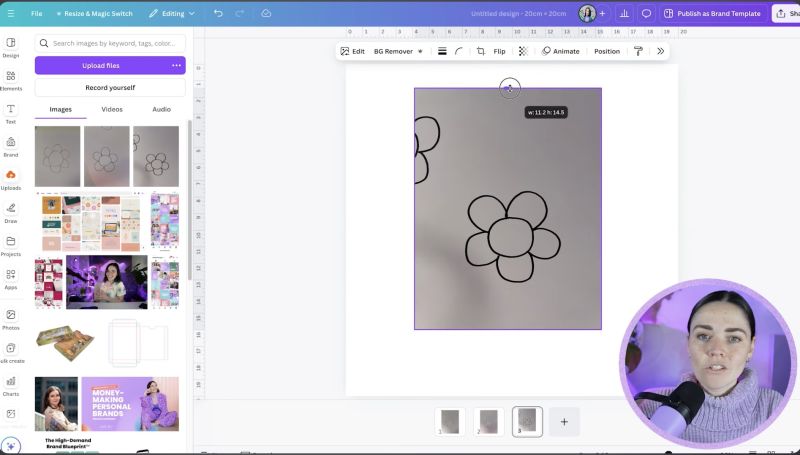
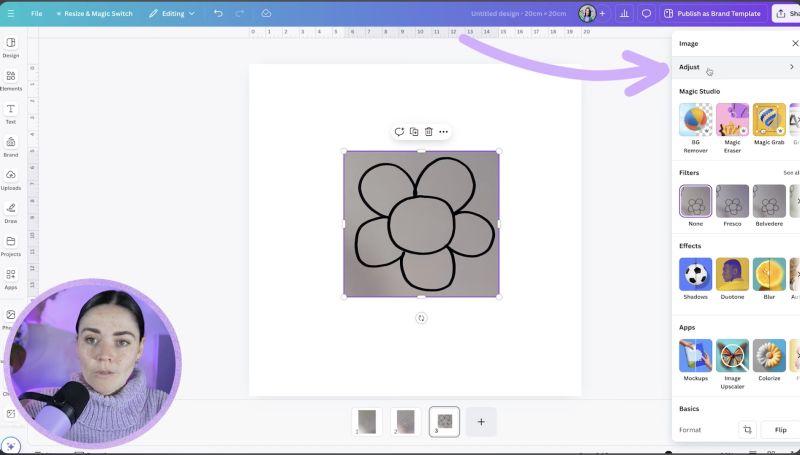
Enhance your image by tweaking the settings to achieve crisp, black lines on a white background. Use the adjustments such as brightness, contrast, saturation, and shadows to fine-tune your sketch.
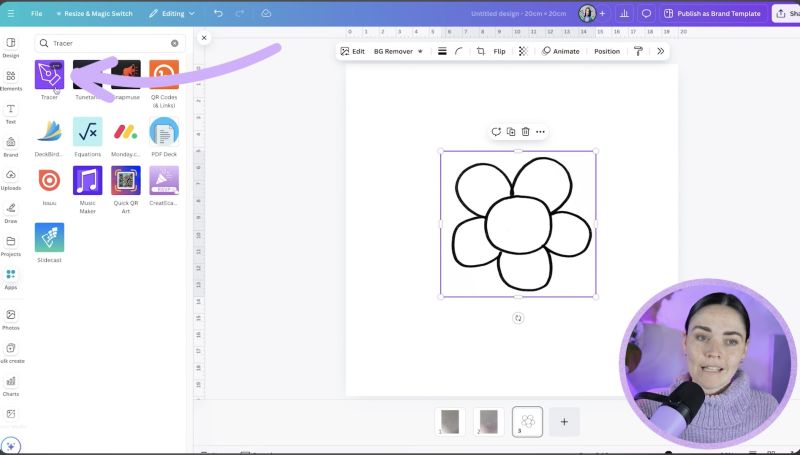
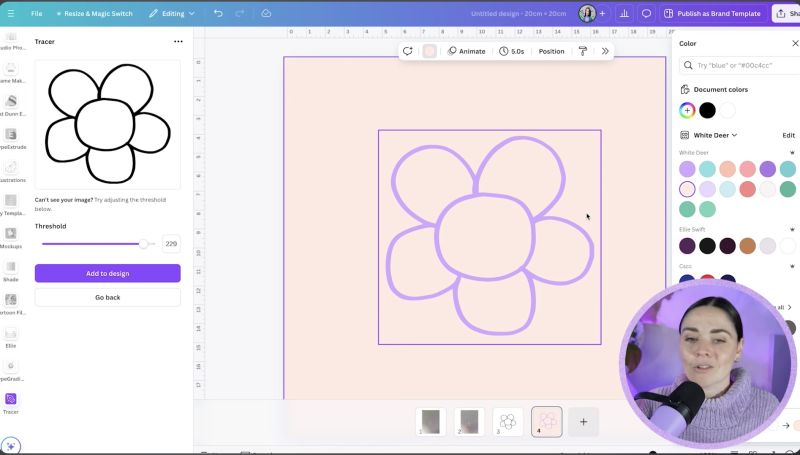
Navigate to the Apps side menu in Canva and locate the Tracer App. If not visible, use the search function. Ensure your image is selected, and use the app to trace your sketch into a vector format. Adjust threshold settings if needed for optimal tracing results.
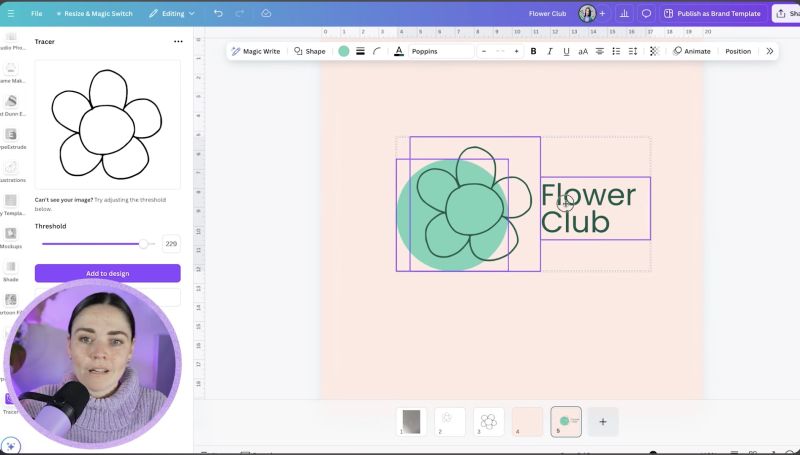
Experiment with colours as your new vector logo is fully colour-changeable. Consider adding backgrounds or text to complement your design. Make sure the logo communicates your brand essence.

Your support helps me produce more content like this. If you enjoy the content I make - like, follow or subscribe!
Ensure your logo is saved and ready for use in all formats needed for your brand. Test its appearance on different platforms and sizes to confirm its versatility.
Creating a custom logo using Canva's Tracer App is a straightforward process, empowering you to maintain full creative control over your brand's visual identity. By following these steps, you'll have a unique logo that's perfect for representing your business across various mediums. Happy designing!
Jacqui Naunton // White Deer