Combine Two Images in Canva: Image Blender Tutorial

Jacqui Naunton // White Deer
28 Mar 2025

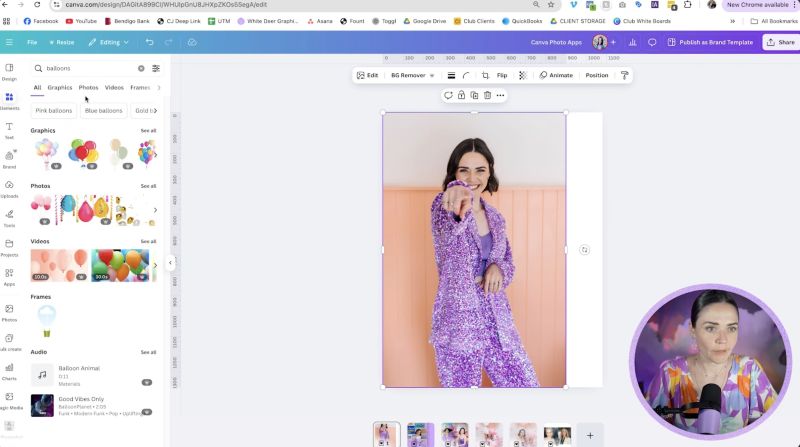
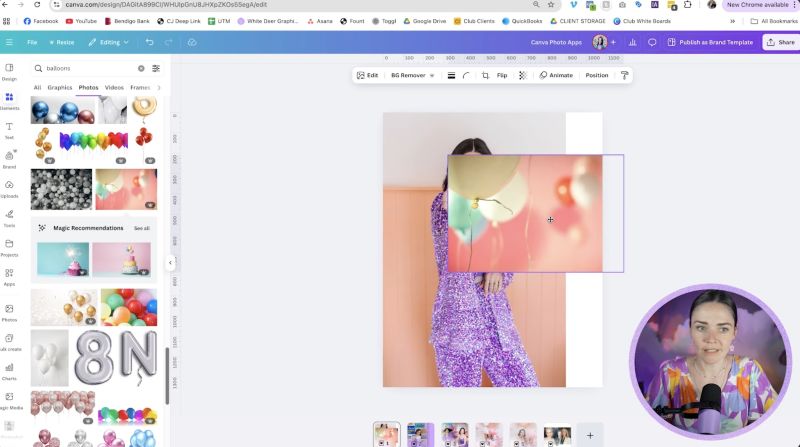
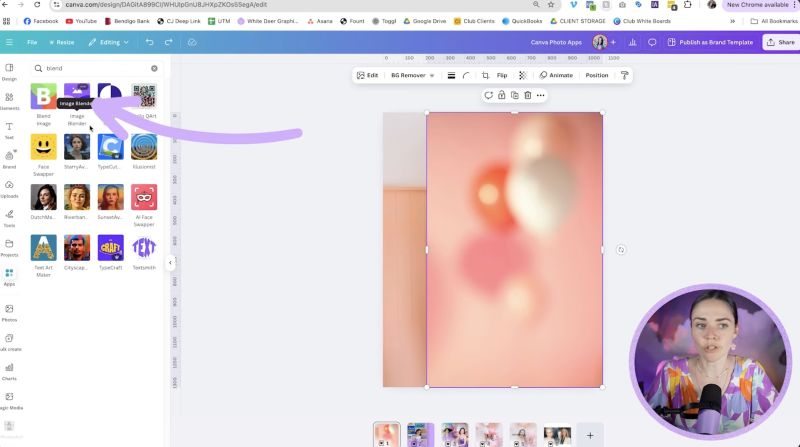
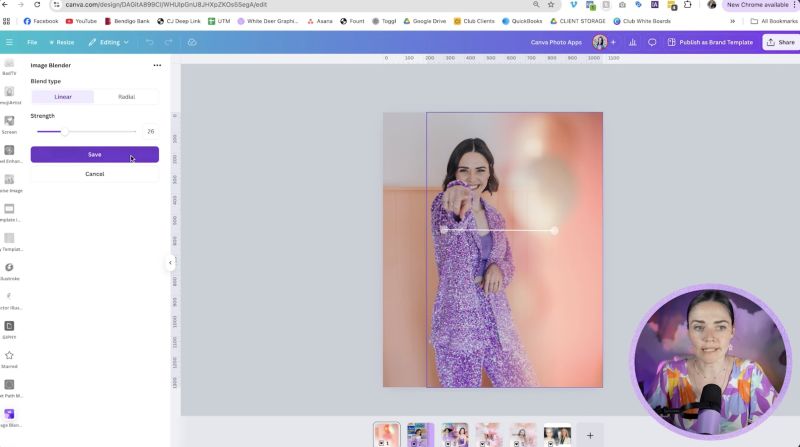
Canva is an incredible tool for creating eye-catching designs and social media posts. One of the techniques I love is combining two images to add visual interest. In this tutorial, I'll guide you through blending two images using Canva's Image Blender app and show you two additional techniques to create a fade-out effect. Whether you're enhancing your brand content or creating captivating posts, this guide will help you achieve amazing results with ease.

Step 1: Open Canva and Select Your Images

  • Launch Canva and create a new design with the desired size. For example, choose a 4x5 Instagram size.
  • Decide on two images to blend together. You can use your own photos, stock images, or Canva's library.

Step 2: Position Your Images

  • Insert your first image into the design.
  • Add the second image by searching Canva’s elements (e.g., search for “balloons” under photos).
  • Position both images as you like, ensuring one slightly overlaps the other for the blend effect.

Step 3: Use the Image Blender App

  • Navigate to the side panel in Canva and click on 'Apps'.
  • Type 'Blend' into the search bar and select 'Image Blender'.
  • With your top image selected, click 'Blend Selected Image'.

Step 4: Customise Your Blend

  • Choose Linear for a straight blend or Radial for a circular effect.
  • Adjust the blend using the handles to control the fade’s start and end points.
  • Increase or decrease the strength on the left panel to fine-tune the blend’s softness.

Step 5: Save and Adjust

  • Once satisfied with the blend, click 'Save' to insert the blended image back into your design.
  • Rearrange or resize the blended image within your design as required.

Step 6: Create a Fade Out Effect Without the App

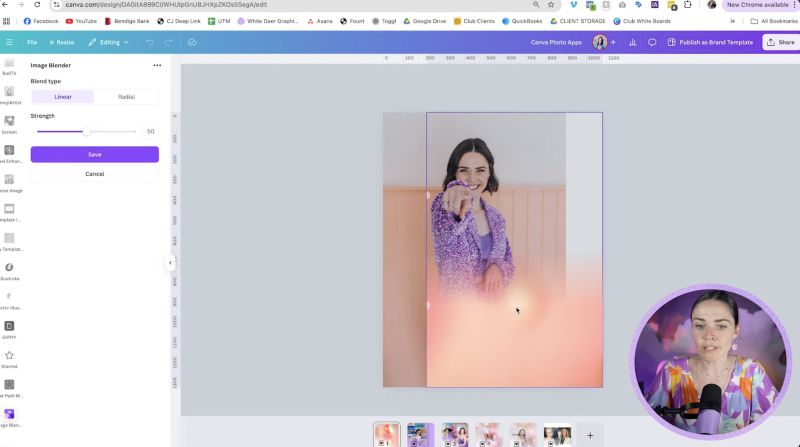
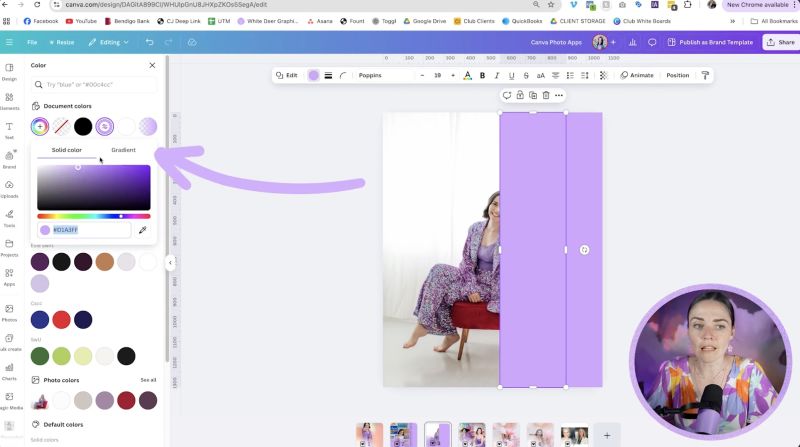
For a different approach to achieving a fade-out effect, follow these steps:

  • Insert a shape by pressing 'R' for a rectangle or access it via 'Elements' > 'Shapes'.
  • Drag the shape to cover your image.
  • Open the colour options and change to 'Gradient'.
  • Match both ends of the gradient to your base colour, reducing the opacity of one end to create transparency.

Step 7: Fine-Tune with Background Remover

  • Duplicate your main image and use the Background Remover (available for Canva Pro) to isolate your subject.
  • Overlay this isolated subject on top of your blended or faded image for a crisp effect.
Support Jacqui Naunton // White Deer

Your support helps me produce more content like this. If you enjoy the content I make - like, follow or subscribe!

Subscribe on YouTube

Conclusion

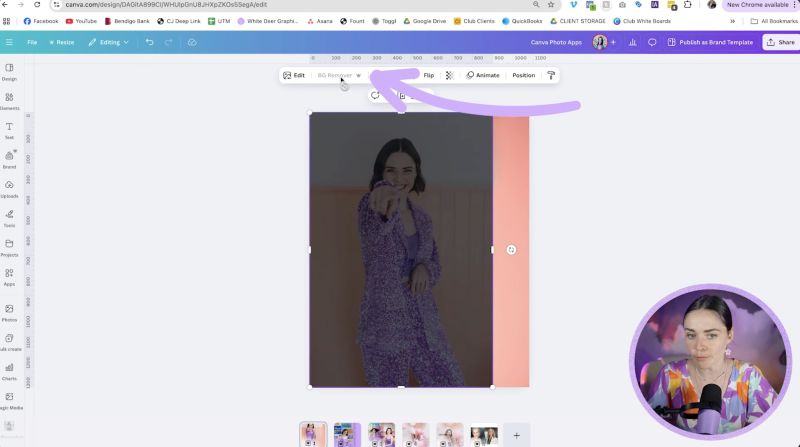
With these steps, you can create captivating designs by seamlessly blending or fading images in Canva. Whether you're using the Image Blender app or manual techniques, these methods will enhance your visual storytelling and make your designs stand out. Experiment with different images and techniques to explore the limitless creative possibilities Canva offers.

Jacqui Naunton // White Deer