


Have you ever found yourself working in Canva and wishing you could change the color of an element, but it's just not cooperating? You're not alone! This guide will walk you through my two favorite methods to modify the colors of any image, graphic, or element in Canva. Whether you're aiming to match your branding or simply want a fresh look, these techniques can help you bring out the best in your designs. Let's dive into the world of color editing in Canva and unlock the potential of your graphics!
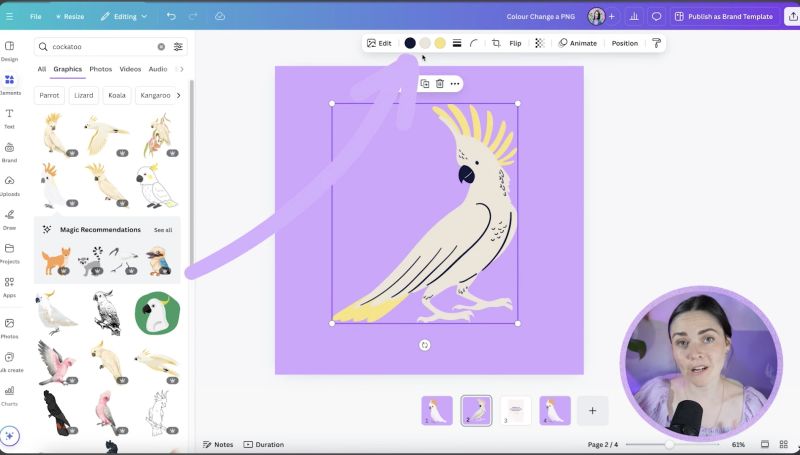
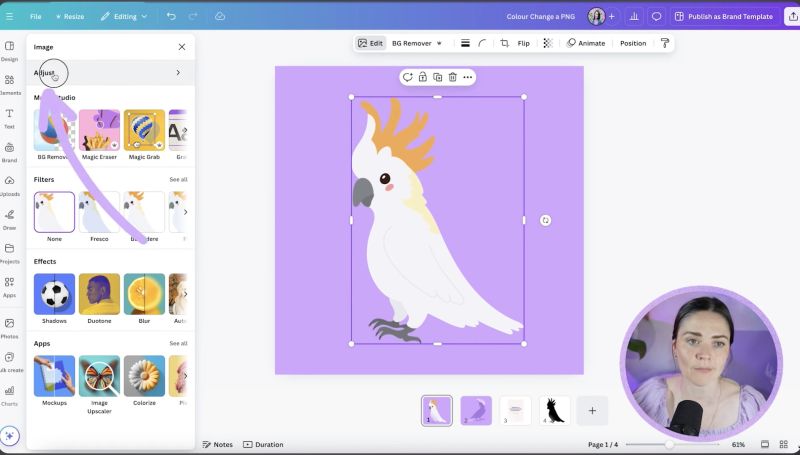
Step 1: Identifying Editable Graphics
Before you start, it’s crucial to determine if a graphic's colors are changeable within Canva. When you select a graphic, check if color options appear in the toolbar. If they do, you're in luck, as this graphic's colors can be modified directly. If not, don't worry—there are workarounds!
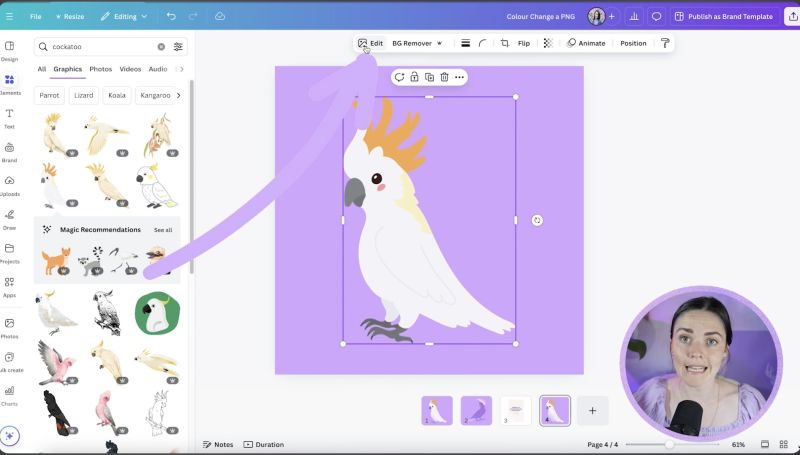
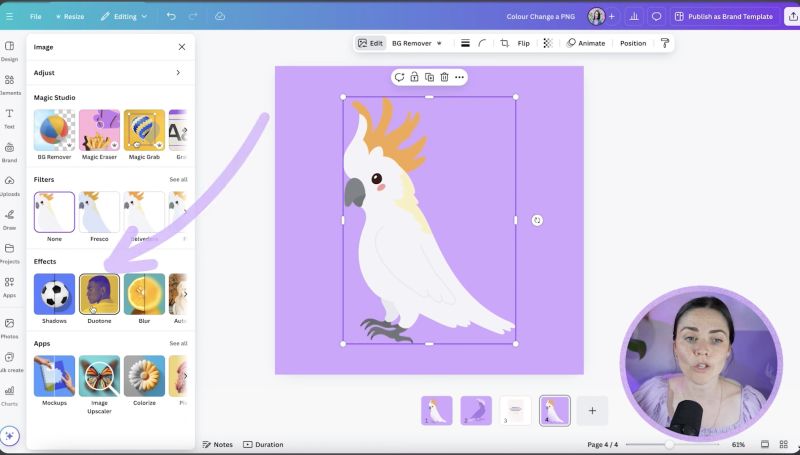
Step 2: Using the Duotone Effect
Duotone is a fantastic tool for changing the colors of an element when direct editing isn't possible. Here's how to use it:

Your support helps me produce more content like this. If you enjoy the content I make - like, follow or subscribe!
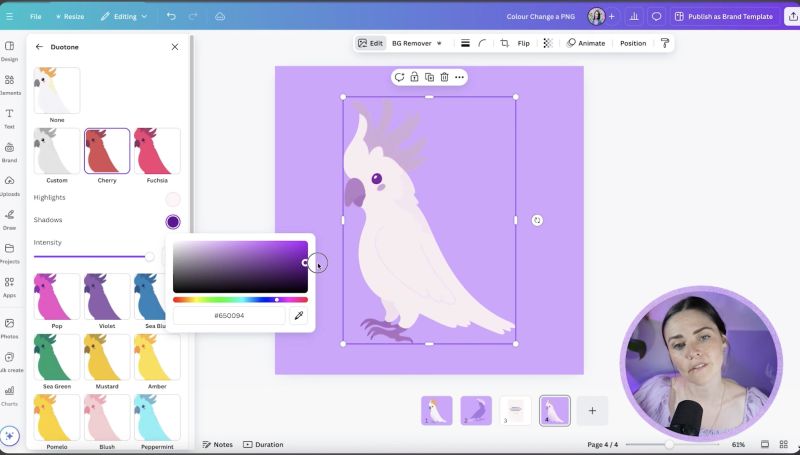
This method is particularly effective when you want to turn a graphic into a silhouette or apply a consistent color tone across its entirety.
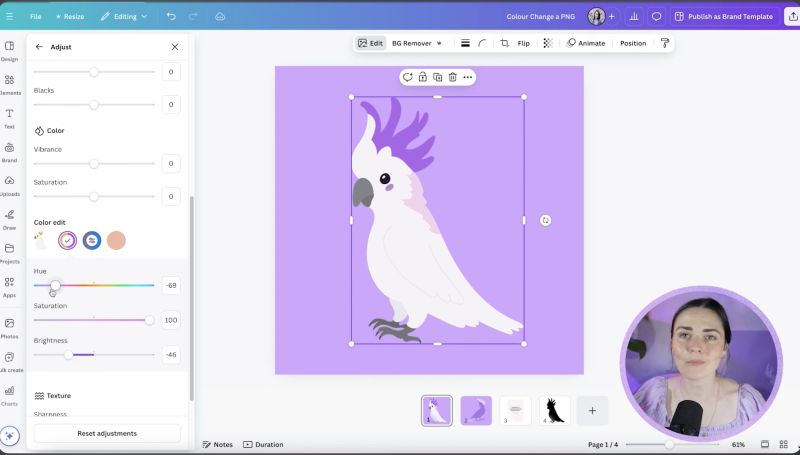
Step 3: Adjusting Colors via Color Adjustment
For more nuanced color edits, Canva’s adjustment tools provide another avenue:
Note that this method can sometimes be hit-or-miss, as it might not perfectly adjust every color in complex images. Nonetheless, it offers a valuable option when you're looking to make specific parts of an image align with your branding.
Step 4: Experiment and Save
After making your edits, compare your modified graphic with the original to assess the changes. Tweak as necessary, ensuring the colors fit your design needs. Once satisfied, save your project and revel in your newfound Canva color mastery!
By following these steps, you can expertly navigate the limitations of Canva's color editing tools and achieve the aesthetic you desire for your projects. If these tricks help you streamline your design process and enhance your visuals, consider exploring more tutorials and expanding your Canva skills. Happy designing!
Jacqui Naunton // White Deer