Canva Tutorial: Perfect Your Reel Covers and Portrait Posts for Instagram

Jacqui Naunton // White Deer
21 Jul 2023

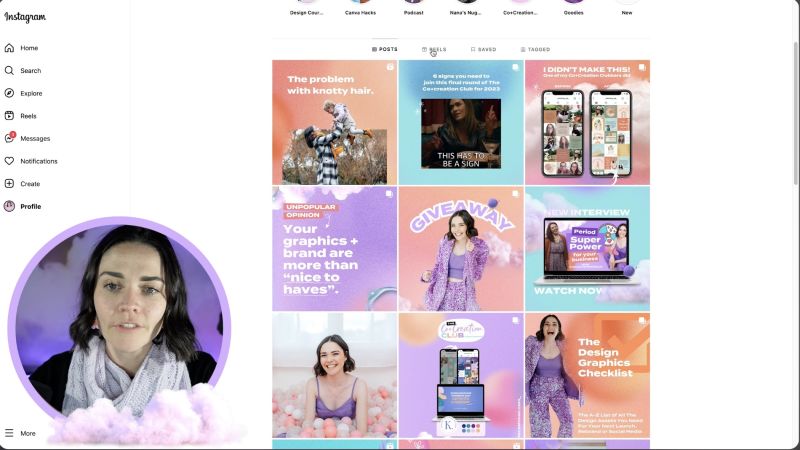
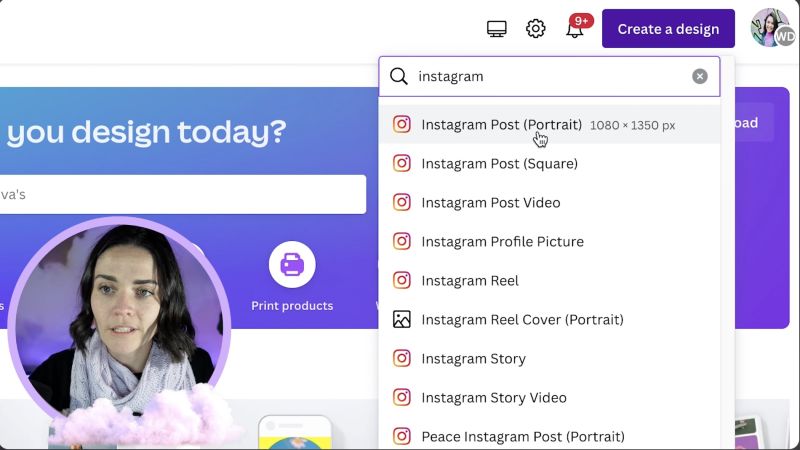
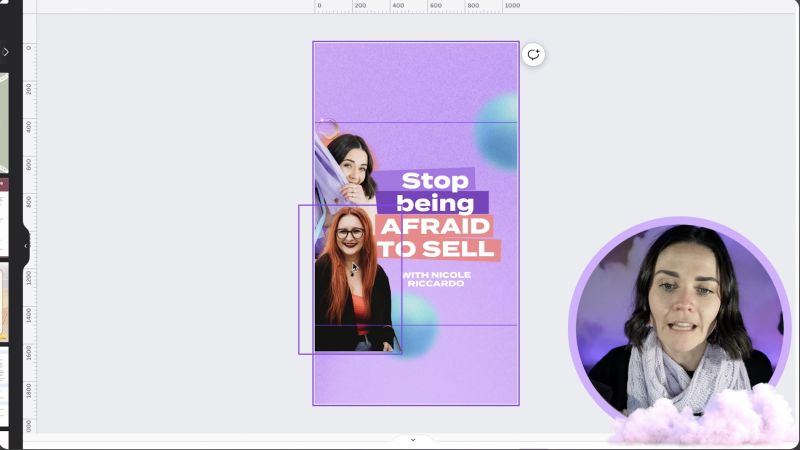
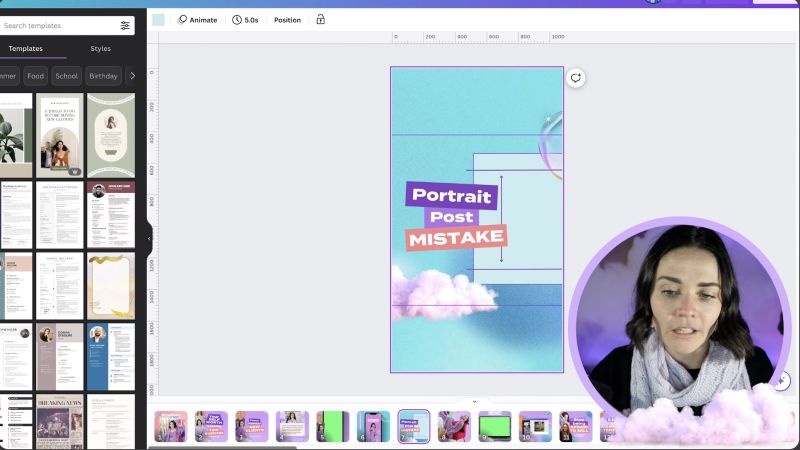
Creating visually appealing reel covers and portrait posts is crucial for ensuring that your content stands out on Instagram. While designing these graphics might seem straightforward, ensuring they look good in your Instagram grid requires extra attention. The grid automatically crops everything to a square, presenting a unique design challenge. This tutorial will walk you through using Canva to design perfect posts for your Instagram grid.

Why This Tutorial Matters

Whether you're a business owner or an influencer, having a seamless and branded Instagram grid enhances your brand's visual impact. Using Canva, we'll explore how to ensure your posts not only look stunning individually but also integrate smoothly with your overall grid design.

Step 1: Understand the Instagram Grid

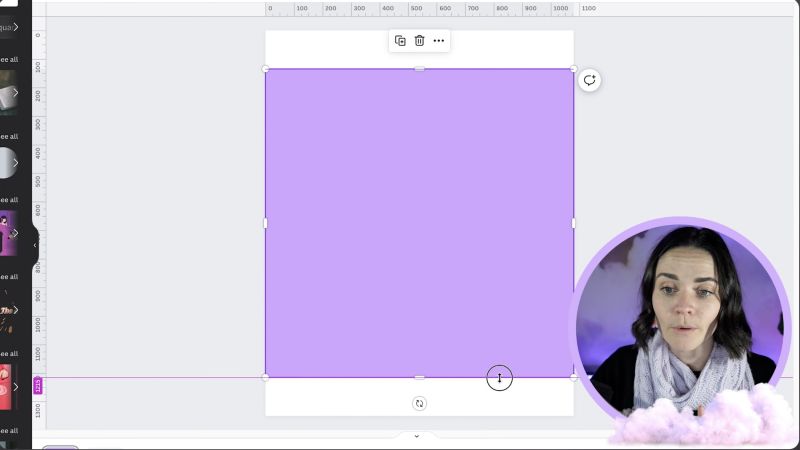
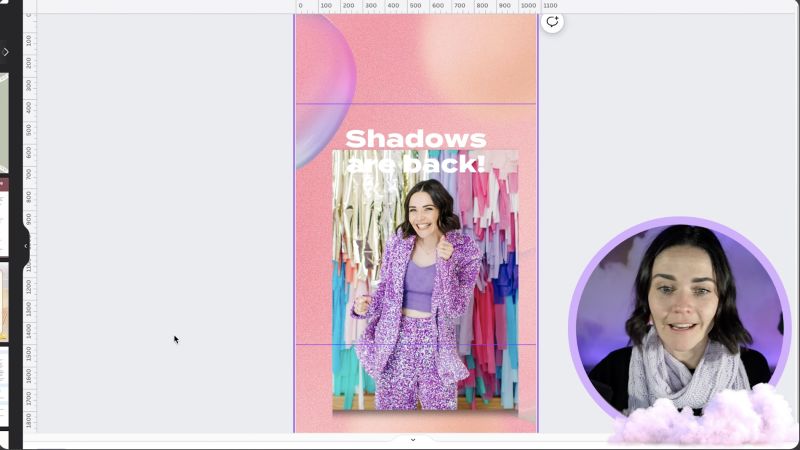
Before diving into the design process, remember that the Instagram grid crops everything to a square. Anything you design needs to focus on the middle portion to ensure it looks good after cropping. This context is crucial to guide your creative process.

Step 2: Setting Up Canva for Reel Covers

  • Start by opening Canva and selecting the "Instagram Story" size, as it matches the dimensions needed for reel covers (1080x1920 pixels).
  • Turn on rulers by going to File > View Settings > Show Rulers and Guides. This feature is essential for aligning your design within the crop limitations.

Step 3: Create Square Boundaries

  • Insert a new square element from the Canva elements tool.
  • Drag the square to stretch it across the full width of your canvas while holding down the Shift key to maintain its proportions.
  • Center the square perfectly within the design using Canva's alignment guides.
  • Add ruler guides by dragging from the top and side rulers to the edges of the centered square and then delete the square element. These guides now mark the cropping areas.

Step 4: Design Within Boundaries

  • Now that your cropping guides are in place, start designing your reel cover or portrait post.
  • Ensure all crucial visual elements (texts, images) fall within the square guide; this guarantees they won't be cut off in the grid.
  • Use large, readable text to maintain clarity, even in the grid view.
Support Jacqui Naunton // White Deer

Your support helps me produce more content like this. If you enjoy the content I make - like, follow or subscribe!

Subscribe on YouTube

Step 5: Apply the Same Method to Portrait Posts

  • For portrait posts (1350x1080 pixels), repeat the same setup process.
  • Again, insert a square, align it, and use it to set up guides for the square cropping zone.

Step 6: Final Adjustments for Branding

  • After completing the design, make sure it aligns with your brand's visual identity using consistent colours, fonts, and image styles.
  • Preview your design as a grid representation in Canva to anticipate how it will look on Instagram.

Step 7: Uploading to Instagram

  • Once your design is ready, export it and upload it to Instagram.
  • Use the Edit Cover function on Instagram to adjust how your cover appears on the grid, ensuring it fits perfectly within the square crop.

Conclusion

Through these steps, you’ll be able to produce striking and professional designs that enhance your Instagram grid. This strategy won't just bolster your branding but also ensure your Instagram presence is cohesive and eye-catching. Happy designing!

Jacqui Naunton // White Deer