Canva Tutorial: Photo, Frame, Editing, and AI Hacks Every Business Owner Needs

Jacqui Naunton // White Deer
17 May 2024

In today's digital landscape, having top-notch graphics can set your business apart. But how can you achieve professional-quality visuals without breaking the bank on graphic design software or services? Enter Canva – a versatile tool that's a game-changer for business owners. In this tutorial, I'll share my favourite Canva photo hacks to elevate your designs, covering everything from using frames upside down to utilising AI tools effectively. Let's dive in and transform your Canva experience!

Step 1: Setting Up Canva for Success

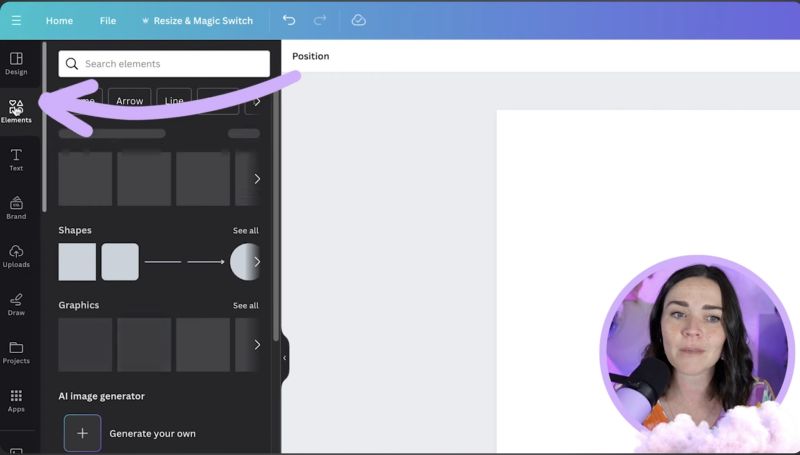
Before we jump into the creative part, ensure your Canva environment is ready:

  • *Upload your images*: Whether it's business photos or personal pictures, upload them to Canva for easy access.
  • *Use the Elements tab*: Familiarise yourself with the elements tab, as it houses various tools, including photos, frames, and videos.

Step 2: Using Frames Creatively

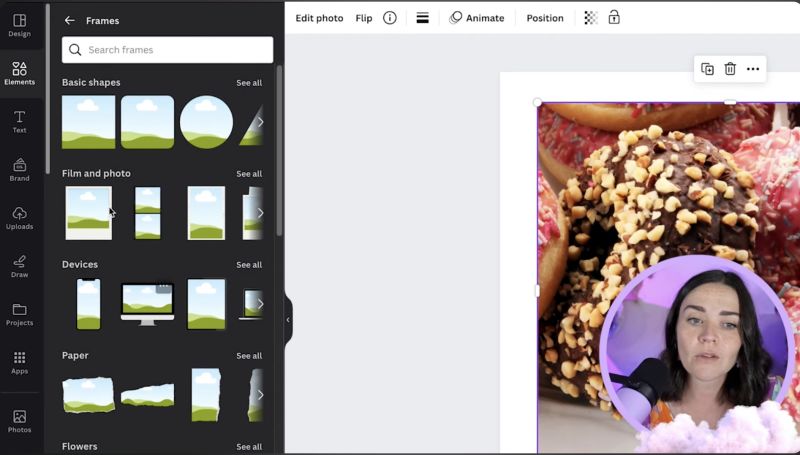
Frames provide a structured way to display images. Here’s how you can maximize their potential:

  • *Explore different shapes*: Under the elements tab, find frames in various shapes, including circles, rectangles, and more funky options.
  • *Insert images into frames*: Drag and drop your chosen image into the frame. To adjust, double-click the image and reposition it within the frame.
  • *Flip frames*: Rotate frames for a unique effect, but remember to rotate the image too, so it remains upright.

Step 3: Editing Photos in Canva

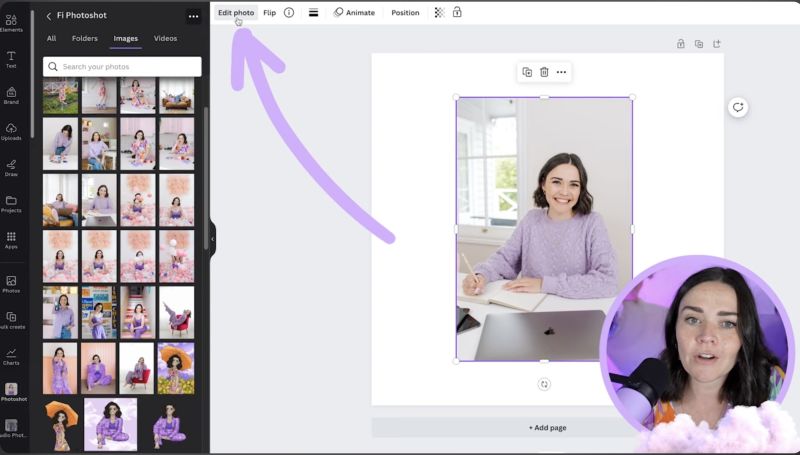
To give your images a professional touch, leverage Canva’s editing tools:

  • *Adjust images*: Use tools like brightness, contrast, and saturation under the "Edit Photo" section to enhance your photos.
  • *Colour editing*: This feature lets you pick specific colours within your image and change hue or saturation for a custom look.
  • *Blur and sharpen*: Under the adjustment settings, play with the focus tools to give your pictures depth or clarity.

Step 4: Magic AI Tools

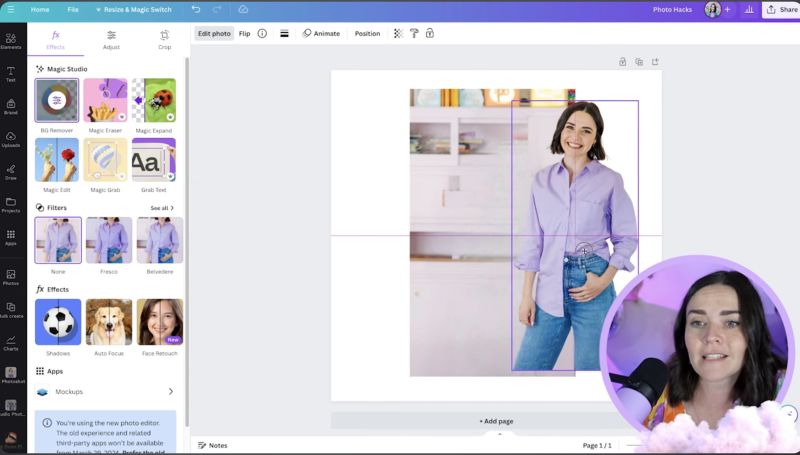
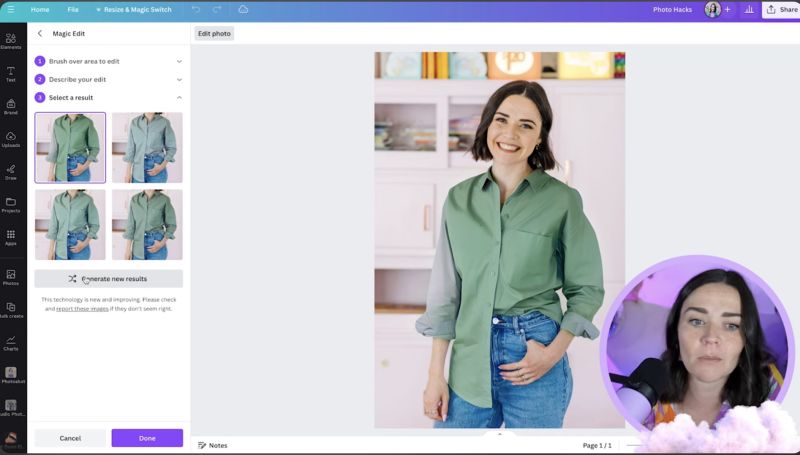
Canva's AI Magic Studio features are incredibly powerful, offering:

Support Jacqui Naunton // White Deer

Your support helps me produce more content like this. If you enjoy the content I make - like, follow or subscribe!

Subscribe on YouTube
  • *Background Remover*: Quickly isolate subjects in your photo for cleaner visuals.
  • *Magic Expand*: Extend parts of an image using AI – great for filling missing limbs or enlarging a background.
  • *Magic Grab*: Separate the subject from its background and reposition it without altering the background.
  • *Magic Edit*: Modify specific elements of your photo by painting over them and providing Canva with new instructions.

Step 5: Elevate Your Designs with AI Edits

For those final touches:

  • Utilize the background remover for a seamless look.
  • Perform colour corrections using Magic Edit to alter outfits or adjust scene elements subtly.
  • Use Magic Eraser to eliminate unwanted objects from your designs effortlessly.

Conclusion

These Canva hacks open up a world of possibilities for enhancing your business graphics without the hefty price tag. By combining frames, photo edits, and AI tools, you can create stunning visuals that reflect your brand's essence. If you're ready to dive deeper into Canva and want to learn more about design principles, consider further extending your skills. Remember, the key to a powerful brand image lies in practice and creativity. Happy designing!

Jacqui Naunton // White Deer