Creating a Gold Foil Text Effect with Canva’s Magic Morph Feature

Jacqui Naunton // White Deer
3 Nov 2023

In today's fast-paced digital world, having eye-catching graphics can significantly boost your brand’s appeal. One such impactful design is the gold foil text effect, which can bring a touch of luxury to your content. With Canva's new Magic Morph feature, incorporating this effect into your design is now easier than ever. This tutorial will guide you through the steps to create a stunning gold foil text effect using your own brand fonts.

Why Should You Care?

Adding unique text effects like gold foil can make your brand’s visuals stand out. It's not just about following a trend—it's about creating a sophisticated and professional look that resonates with your audience. This tutorial will show you how to harness the power of AI with Canva’s Magic Morph feature to customize your text and align it with your branding.

Step-by-Step Gold Foil Text Effect Tutorial

1. Open Canva and Enter Your Text

  • Start by opening Canva and creating a new design. Enter the text that you want to apply the gold foil effect to.

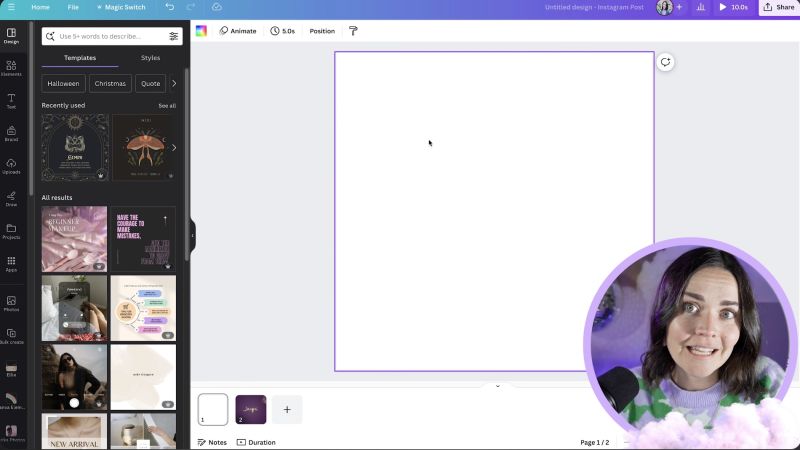
2. Select Your Brand Font

  • Highlight the importance of using your brand's fonts to maintain consistency. Choose your preferred font from the Canva options.

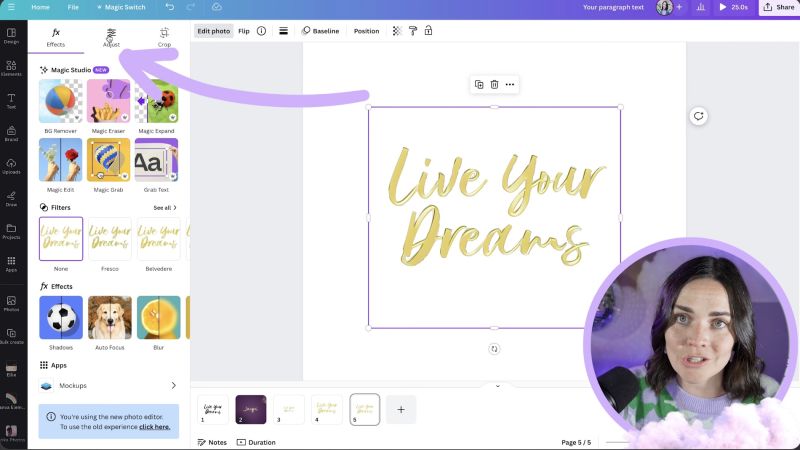
3. Find the Magic Morph Feature
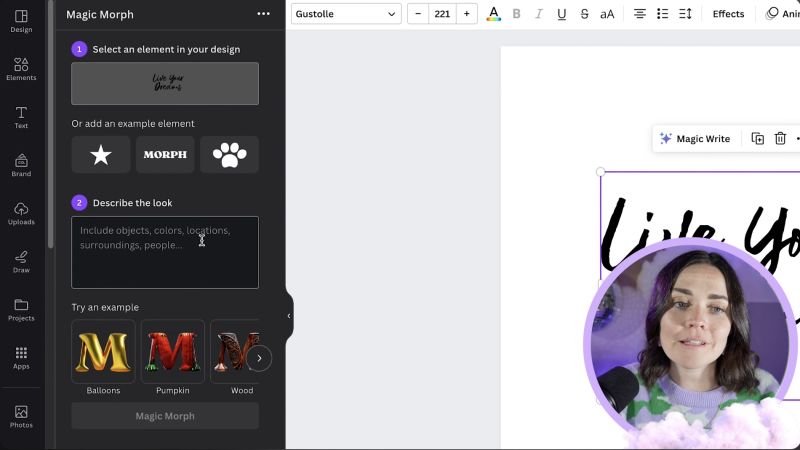
  • Navigate to the Apps section in Canva, and search for Magic Morph using the search bar. Click on the Magic Morph icon to start the process.

4. Apply AI Prompts

  • In the Magic Morph section, enter the prompt "gold foil" to initiate the effect. You will receive four different versions of the effect.
  • Choose the version that best fits your vision.

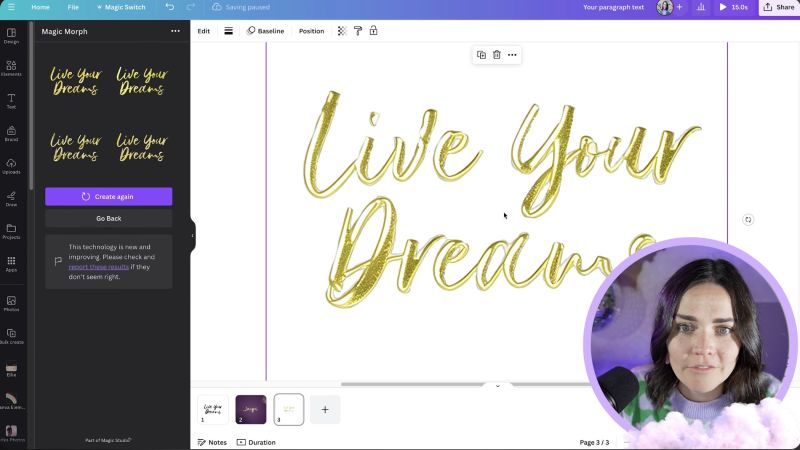
5. Download and Re-upload for Further Editing

  • Since the text will no longer be editable in the usual way, right-click on the text and select ‘Download Selection’ as a transparent PNG.
  • Re-upload the downloaded image back into Canva to proceed with further refinements.

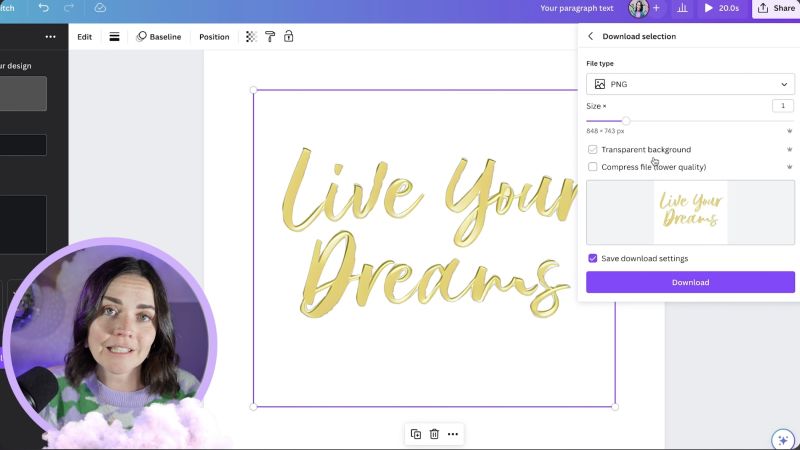
6. Edit the Design Further

  • Once your image is re-uploaded, click on ‘Edit Photo’ option. Use the ‘Adjust’ menu to refine the temperature, saturation, and other settings to achieve the desired gold tone.
Support Jacqui Naunton // White Deer

Your support helps me produce more content like this. If you enjoy the content I make - like, follow or subscribe!
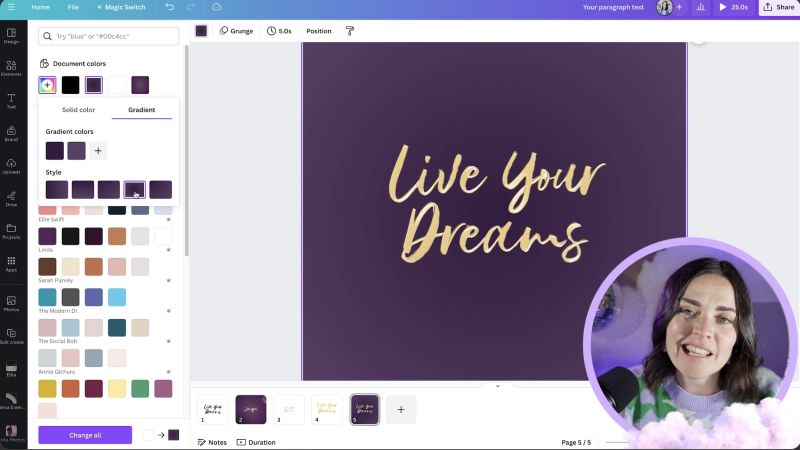
Subscribe on YouTube

7. Add a Background

  • Gold foil looks particularly striking against a dark background. Choose a background colour that complements your brand and text.
  • Consider adding a gradient to add depth, using the gradient toggle in Canva to customize to your liking.

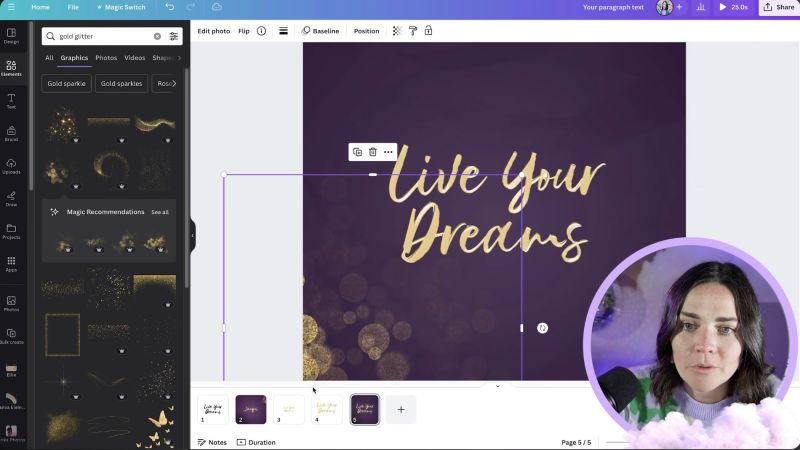
8. Incorporate Additional Textures

  • Enhance the richness of your design by adding textures or graphics such as leather or glitter. Adjust transparency to keep these elements subtle and classy.

9. Ensure Branding Consistency

  • Once you’ve found a prompt and style that works, use it consistently across your designs. Consistency in these effects strengthens your brand recognition.

By following these steps, you’ll leverage Canva’s Magic Morph feature to give your text a luxurious gold foil look that’s both appealing and on-brand. Explore different prompts and colours to see what best represents your unique brand style. Happy designing!

Jacqui Naunton // White Deer