


Creating a planner might initially seem straightforward, but have you ever started designing one and got stuck on getting boxes to line up or make sure everything is the right size? This tutorial is here to help you through the process of designing a functional and beautiful planner using Canva. Whether you're a small business owner looking to streamline your week or someone who wants to craft a planner for sale, these tips from a professional designer, Jacqui Naunton, will guide you step-by-step.
Before jumping onto Canva, take some time to sketch out your planner layout on a piece of paper. Decide on sections that are relevant to your needs, such as daily to-dos, notes, and any other areas you might need. This planning phase is crucial as it gives you a clear vision of what you want your final product to look like.

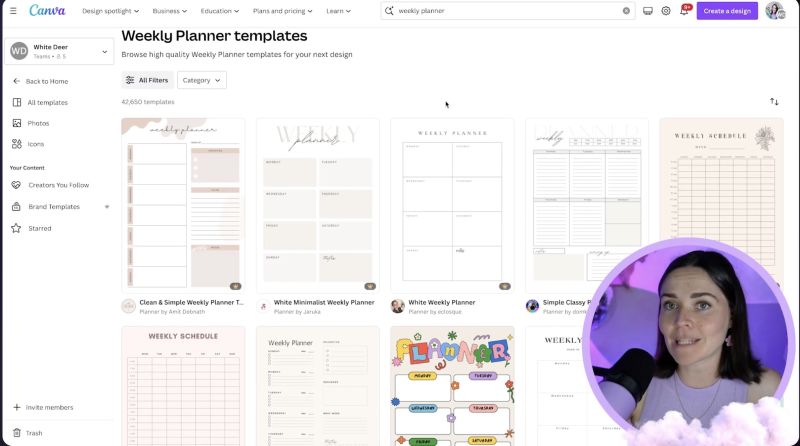
Explore existing planner designs for inspiration. This will help you identify what works and what doesn’t in terms of layout and functionality. Pay attention to elements like alignment, space between sections, and usability features like writing space.
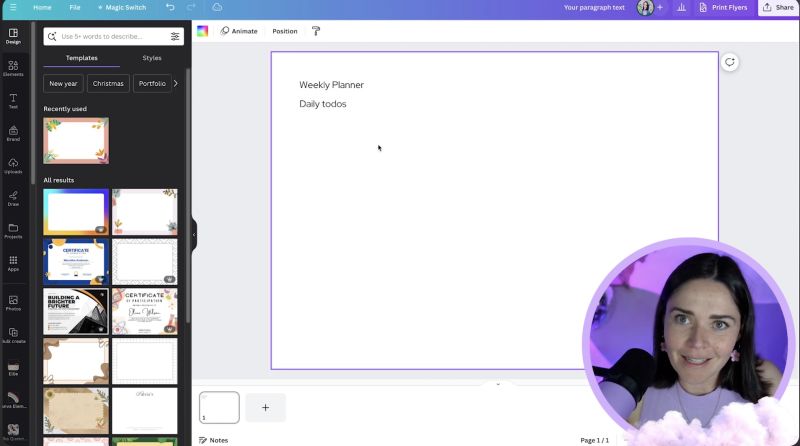
Create a design in Canva by deciding on the size and orientation that suits you best. Australian users may prefer the A4 size, while those in the U.S. might use the letter size. Choose between a landscape or portrait orientation depending on what feels intuitive for your workflow.

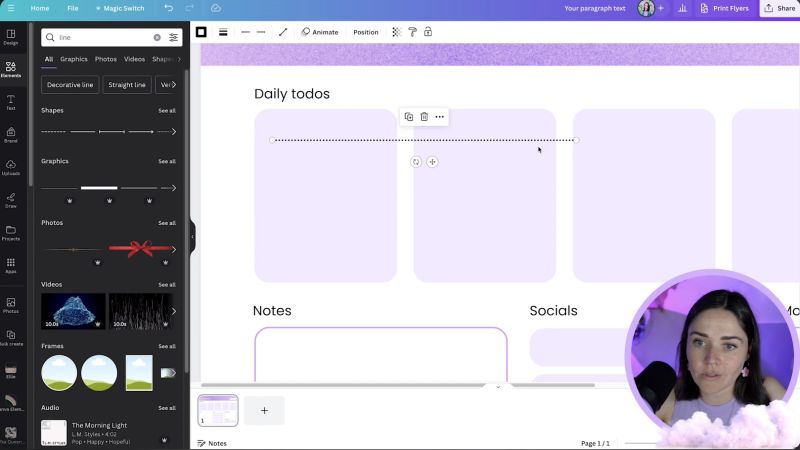
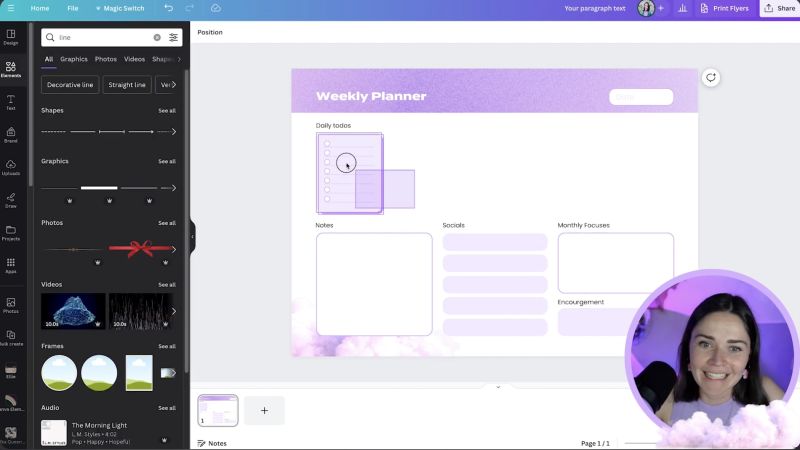
Insert text boxes and start laying out sections according to your sketch. Use shortcuts like pressing 'R' for a rectangle to quickly add boxes. Ensure elements are aligned and evenly spaced using Canva’s align and distribution tools.
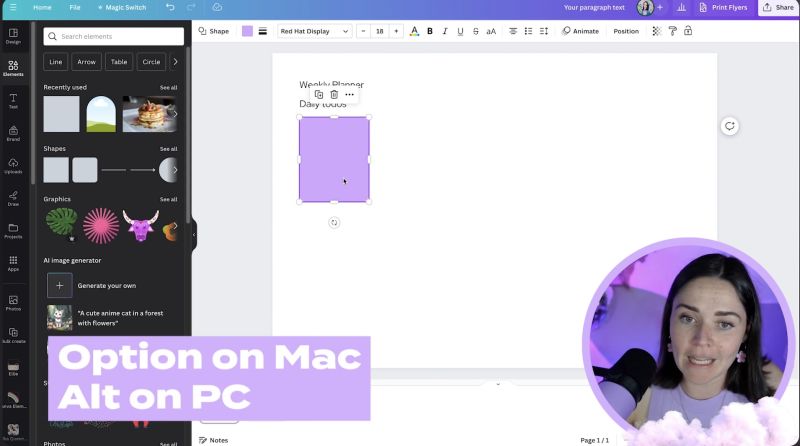
Efficiently duplicate elements by using the Alt/Option key and dragging the items you need more of. This is a quick way to replicate sections across your planner without misaligning components.
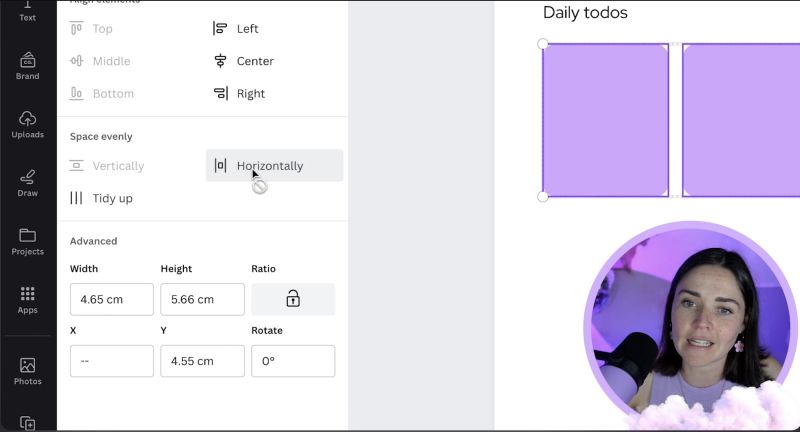
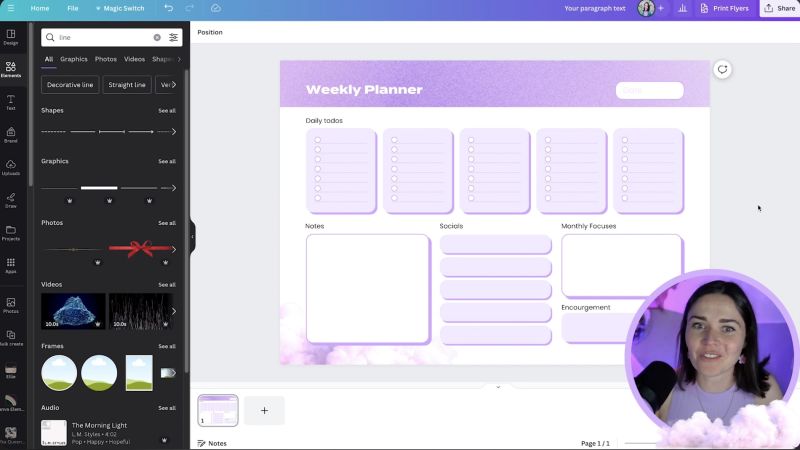
Select all the items you want to align and use the "Space Evenly" tool. This ensures uniformity in your design, making it look professional and visually appealing.

Your support helps me produce more content like this. If you enjoy the content I make - like, follow or subscribe!
Bring your planner to life by applying your brand’s fonts and colours. This not only makes it consistent with your business image if you’re using it professionally but also adds a personal touch if it's for personal use.

To enhance usability, add lines where users might write, such as under daily tasks or notes. Use Canva's line tool to ensure they are subtle by adjusting the weight and making them dashed if desired.
Introduce unique elements such as graphic icons or background shapes that reflect your brand style. These elements can highlight sections or simply add a decorative touch to your planner.
Finalise by saving your design as a PDF, especially if it's meant for print. Consider doing a test print to ensure the sizing is appropriate and the design aligns with your initial intent.
By following these steps, you can create a planner that is both functional and beautiful. Whether for personal use or to sell, having a carefully designed planner can significantly boost productivity and organisation. Happy designing in Canva!
Jacqui Naunton // White Deer