


In an era where social media dominates our marketing strategies, creating eye-catching and memorable posts is essential for anyone looking to stand out. As a graphic designer, I've explored countless tools, and Canva stands out as an accessible solution for professionals and beginners alike. In this tutorial, I'll guide you through crafting stunning social media posts that are not just visually appealing but also on-brand, ensuring that your audience engages deeply with your content. Whether you're a Canva novice or an experienced user, these steps will arm you with techniques to transform plain templates into compelling posts.
When designing for Instagram or any other platform, always start by choosing a portrait-sized post. This format uses more screen space on mobile, making your content more noticeable as users scroll.

Before diving into design, decide on your content's goal. Are you sharing a testimonial, quote, service advertisement, or perhaps a personal introduction? Having a clear plan will guide your design decisions.
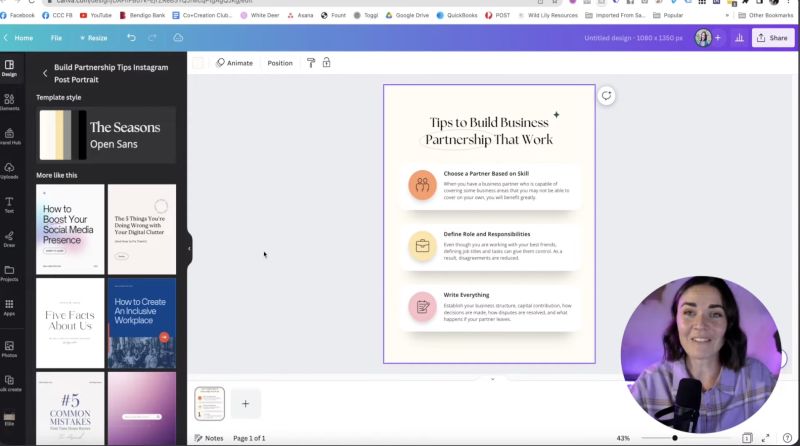
Canva’s templates are a treasure trove for inspiration and utility. Don’t feel the need to start from scratch; instead, use the template section to find one that aligns with your brand's message. Even free users have plenty to choose from.
Ensure your designs stand out and fit aesthetically with your feed. Keep in mind:
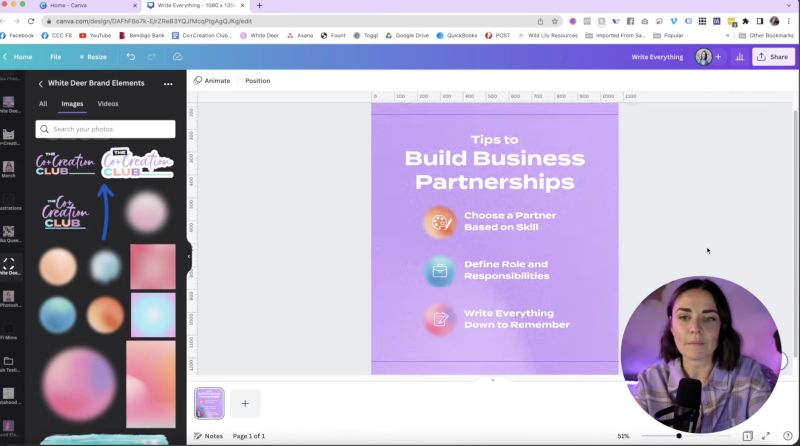
Brand consistency is critical. Start by applying your chosen brand colours and fonts. If you haven’t settled on these yet, consider doing so to streamline your future design processes.

Your support helps me produce more content like this. If you enjoy the content I make - like, follow or subscribe!
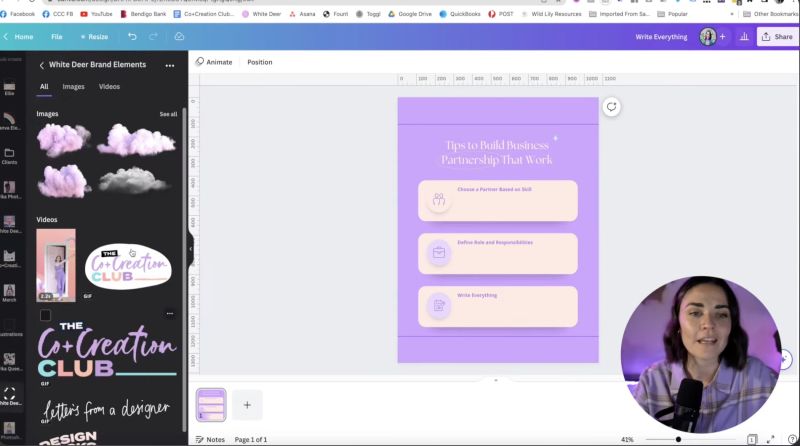
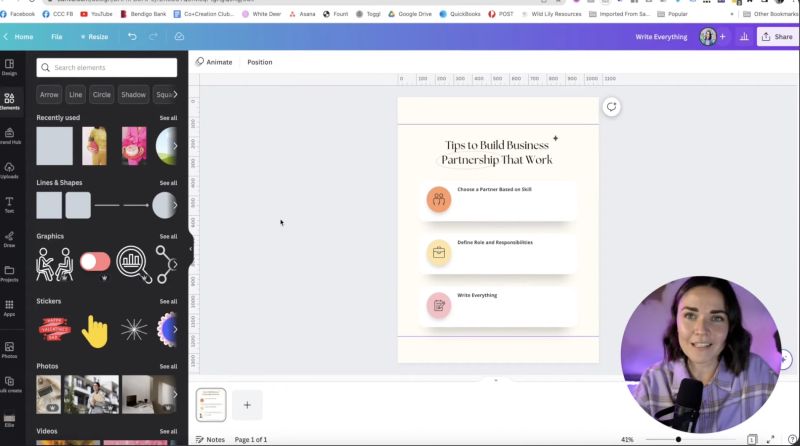
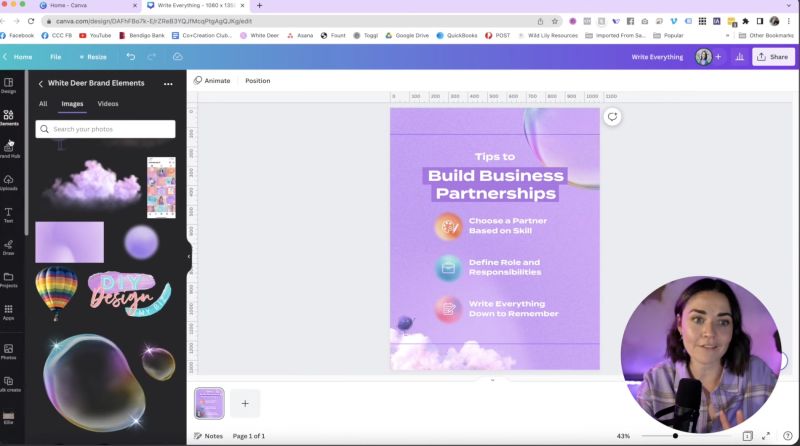
Make your design uniquely yours. Incorporate textures, backgrounds, or graphical elements consistent with your brand’s style. This personalisation makes your post stand out.
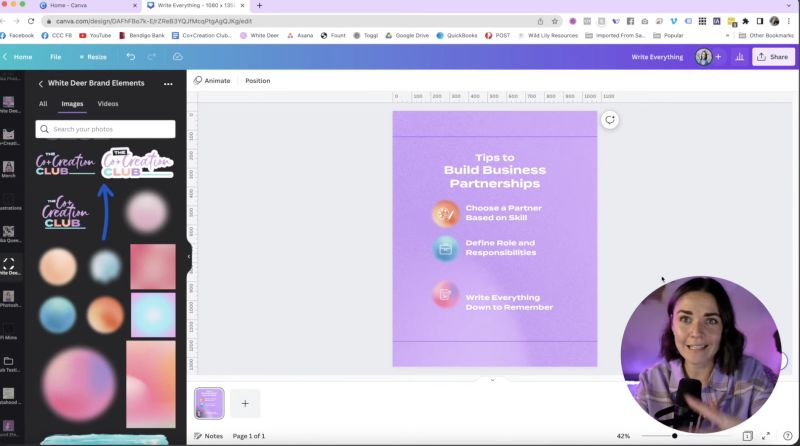
Text hierarchy guides the viewer’s eye and ensures your main message is the focal point.
Pay attention to alignment to enhance professionalism and clarity in your designs.
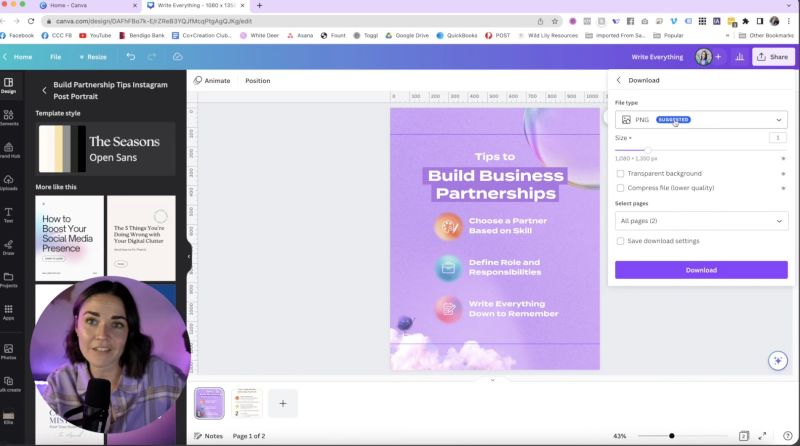
Once satisfied with your design, prepare it for publication.
By following these steps, you'll be well-equipped to create dynamic, branded social media posts that capture attention. Your brand will not only stand out but also connect more effectively with your audience, helping you to achieve your social media objectives effortlessly. Happy designing!
Jacqui Naunton // White Deer