


Are you tired of searching through endless files for your past designs every time you want to create new graphics on Canva? Do you wish you had a set of pre-saved templates that perfectly match your brand? If so, this tutorial will be a game-changer for you! Discover how to harness Canva's features to create and store brand-consistent templates, saving you both time and sanity.
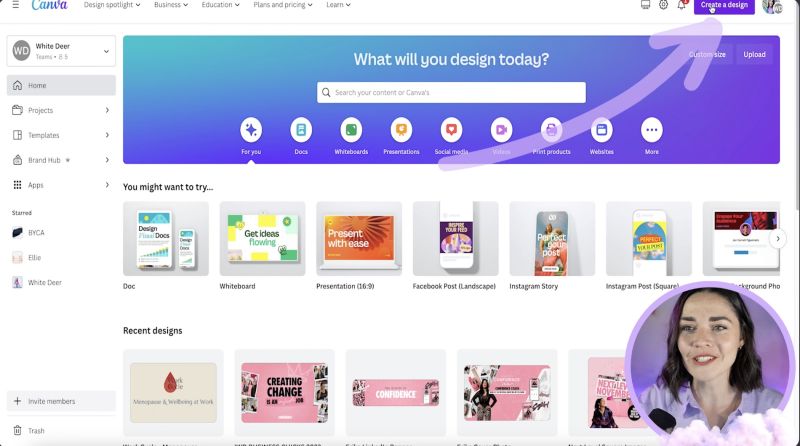
Begin by opening Canva and creating a new design that matches the format you typically use, such as an Instagram portrait. While you’re here, think about what designs you’ve used frequently and might want easy access to in the future.
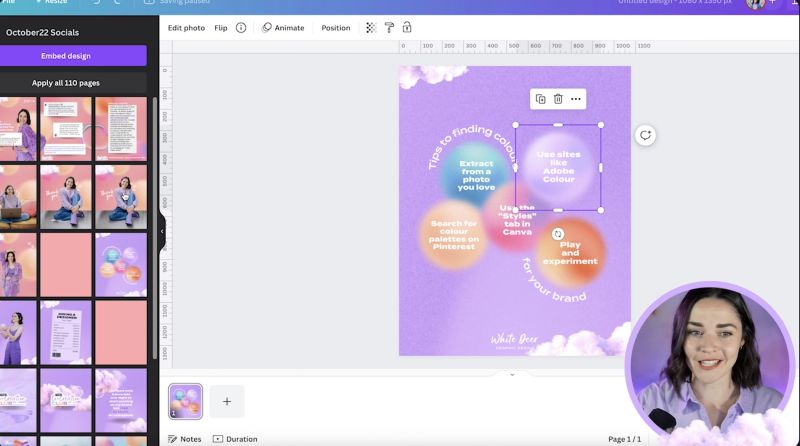
Navigate through your past Canva projects and identify designs that you would like to use as templates. Think about repeatable layouts like testimonials, step-by-step graphics, or content styles you often reuse.
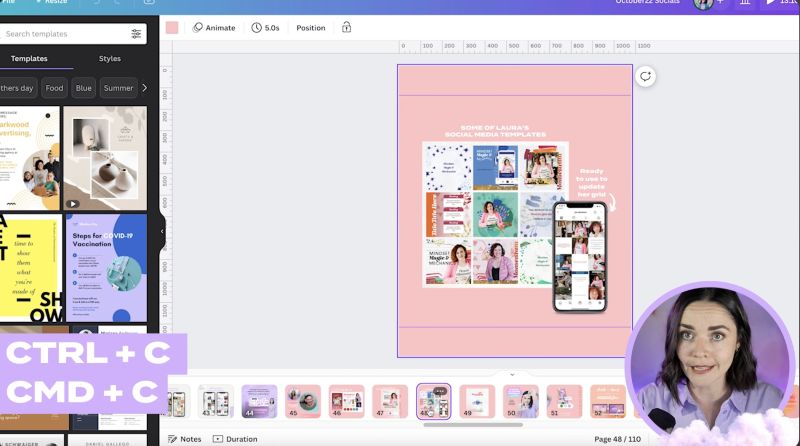
Once you've chosen your templates, you can copy them into a new Canva document you’re designating as your template base. Use keyboard shortcuts like Ctrl (or Command) + C to copy, and Ctrl (or Command) + V to paste into your new document.
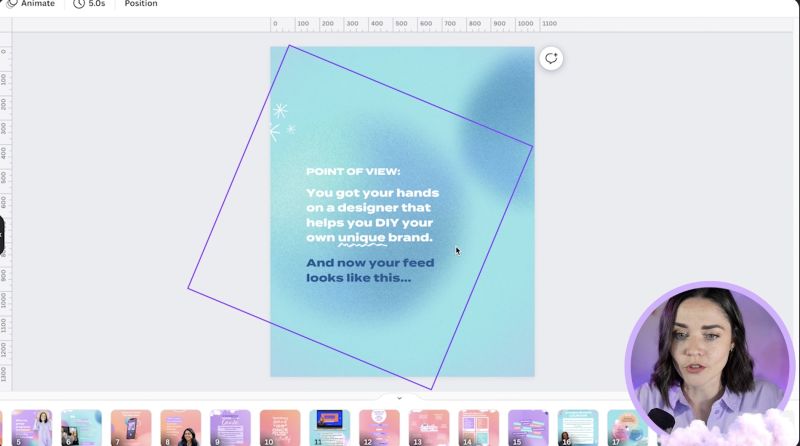
With all your desired designs now in one document, take the time to edit them for consistency. Adjust layouts, tweak colours, and make any necessary changes to align with your brand. Label this document as your "Do Not Touch" template to ensure it's only used for copying designs.
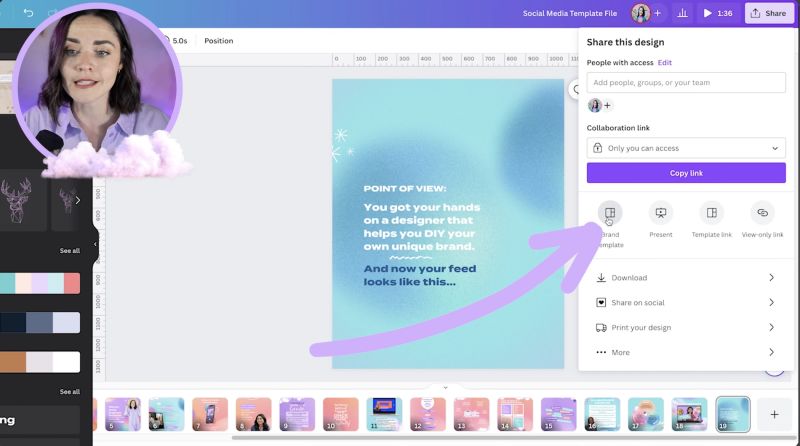
In the top-right corner, click Share and choose Brand Template. If you're using Canva Pro, this feature allows you to store templates within the Brand Hub. The process may take a few minutes to complete and populate in your templates section.
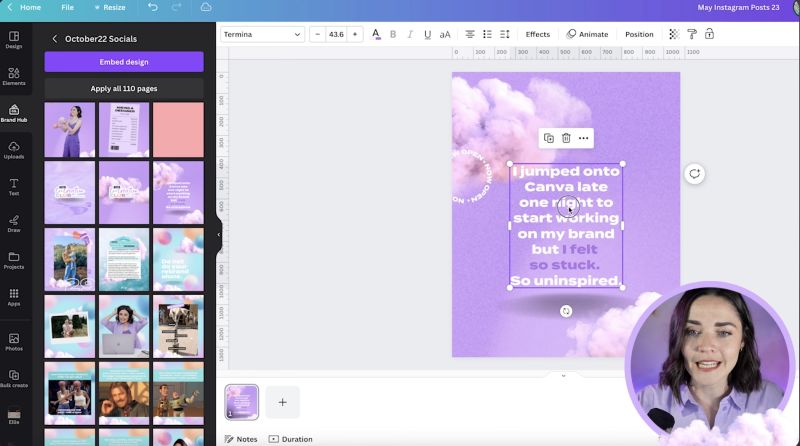
When you need to create something new, start a new Canva design and go to your Brand Hub. Select your saved templates, then simply edit the text and swap out images as required for your latest projects.
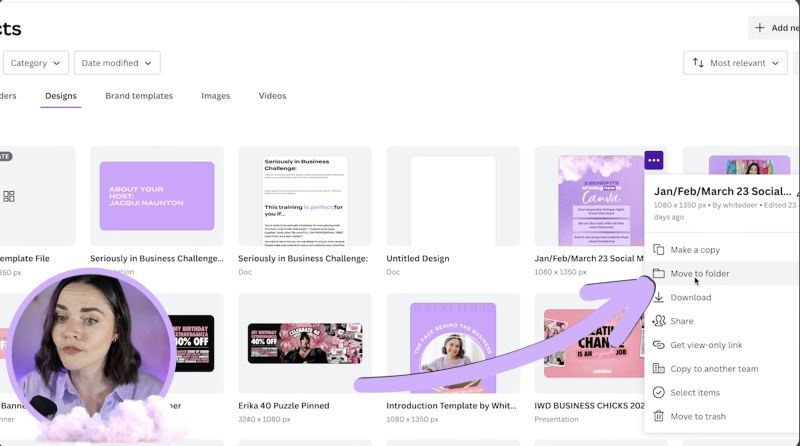
For those without Canva Pro, you can use folders instead. Go to your projects on Canva, select your template document, and move it to a newly created folder called “Brand Templates” for easy access without the Pro features.

Your support helps me produce more content like this. If you enjoy the content I make - like, follow or subscribe!
Your designs should evolve with your brand. Revisit your template document periodically to update and refine the designs, ensuring they remain relevant and helpful for future projects.
By creating a streamlined process for accessing and updating your templates, you can effortlessly manage your brand's visuals in Canva, making your design workflow smoother and more efficient. Happy designing!
Jacqui Naunton // White Deer