


Welcome to this engaging tutorial where you'll discover how to create a funky design using Canva's frames, allowing you to place photos inside text. This technique will transform your designs and is perfect for adding a unique, professional flair to your projects. Whether you're looking to create impactful social media graphics or eye-catching presentations, this step-by-step guide will help you master the basics. Let's delve into this fun and practical design method!
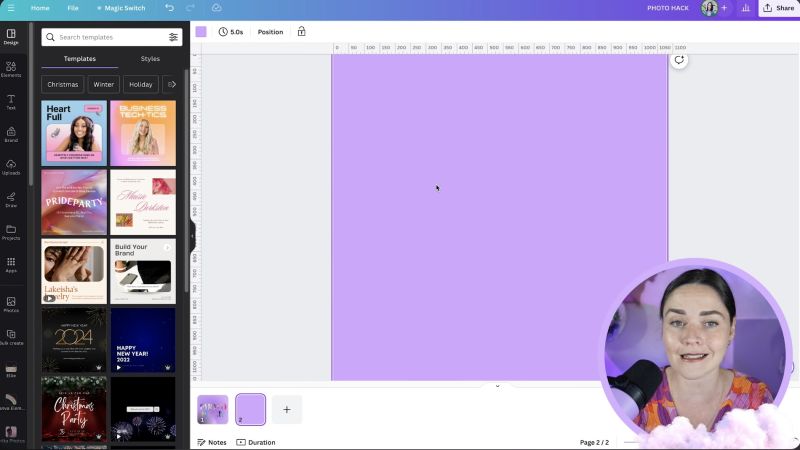
Begin by opening Canva and selecting the design size you wish to work on. You can use any template depending on your needs, such as Instagram posts, posters, or presentations. Choose a plain background to start with; I often pick a bold or neutral colour like purple to set the stage.
Navigate to the Elements panel on the left-hand side of your screen. Scroll down until you find the Frames section. This section allows you to insert images into various shapes, including letters. If you're unfamiliar with frames, take a moment to explore the hundreds of options available.
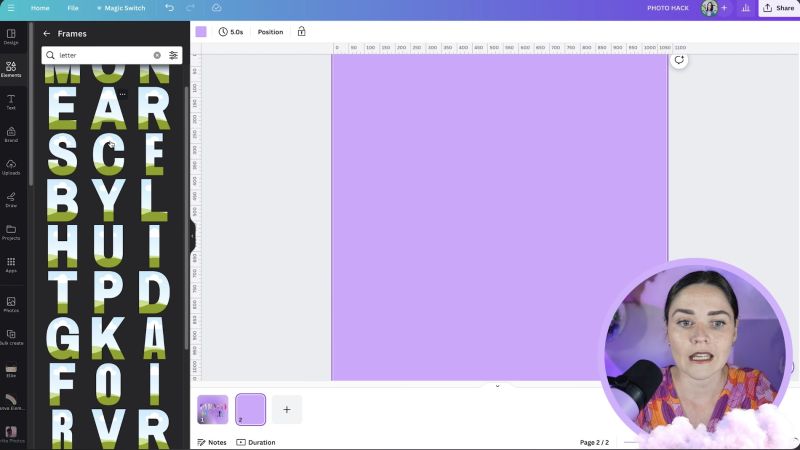
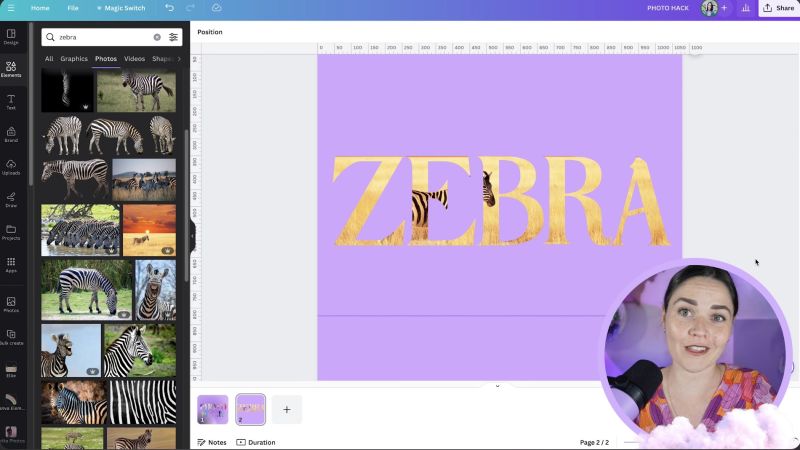
In the Frames section, search for the letters you need. Type a letter in the search bar to find specific options. Select a consistent style across all letters for a uniform look or mix and match for a creative collage effect. Ensure the letter style aligns with your brand or the design's purpose.
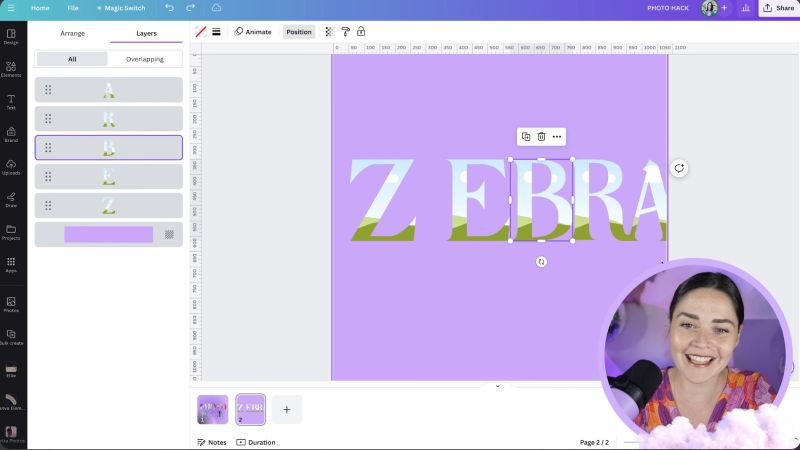
After adding the necessary letters to your design, select all letters and adjust their size simultaneously to maintain uniformity. Arrange the letters to spell out your desired word, ensuring consistent spacing for a polished appearance. Remember, visual alignment often trumps precise measurement, so trust your eye for spacing adjustments.
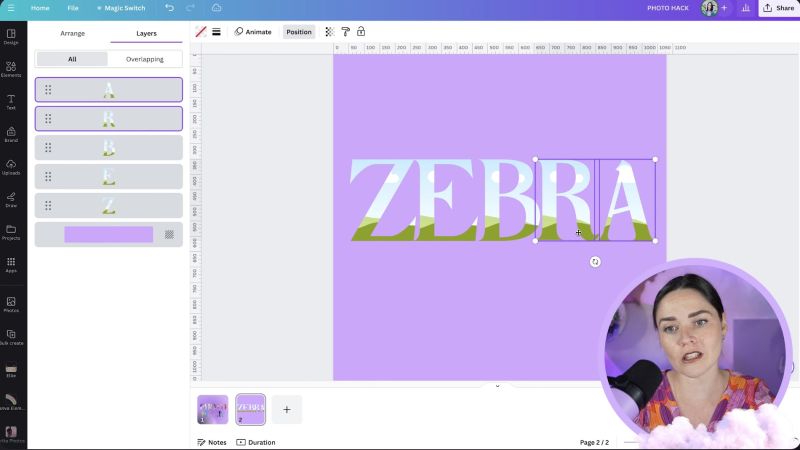
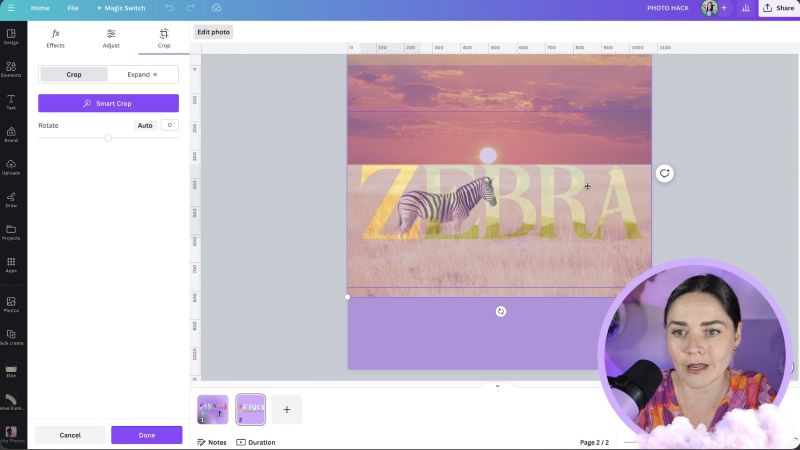
Choose a photo that you wish to insert into the frames. Drag the photo over a letter frame until it fills the space. Double-click on the letter to adjust the photo's size, positioning it correctly within the frame. Repeat the process for each letter, ensuring the photo flows seamlessly across the entire word.

Your support helps me produce more content like this. If you enjoy the content I make - like, follow or subscribe!
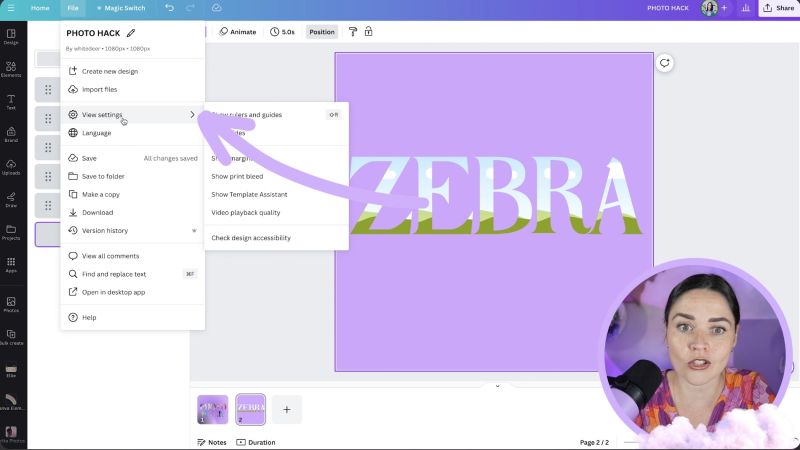
Enable Canva's rulers and guides by going to the File tab and selecting View settings. These tools are invaluable for aligning your images consistently. Drag rulers to match the top and bottom edges of your photos to maintain a continuous flow across all letters.
Now that your photos are perfectly in place, feel free to customise the background to complement your text. Adjust colours, add shapes, or include additional elements to enhance the overall design aesthetic.
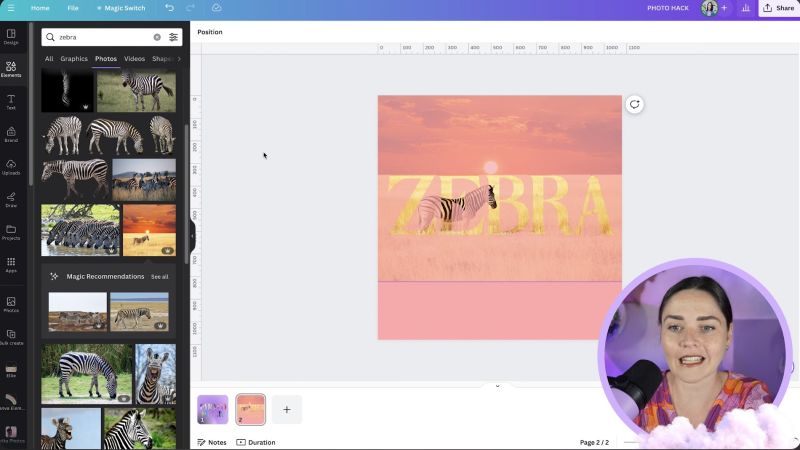
If you wish to go beyond the basics, consider adding more depth by layering your original photo in the background. Use transparency adjustments to connect the background and the text creatively. Experiment with different layouts to see what aligns best with your vision.
Congratulations! You've successfully created a striking Canva design featuring photos inside text. This basic tutorial offers a foundation for what you can achieve with Canva, and with practice, you'll be able to explore even more advanced design techniques. Remember, the possibilities are endless, so keep exploring and experimenting with your designs. Thank you for reading, and I hope this tutorial sparks creativity for your next project!
Jacqui Naunton // White Deer